Budget-Friendly Black and White Bathroom Makeover
Looking for black and white bathroom inspiration? Check out this affordable bathroom remodel and get budget-friendly ideas for a bathroom makeover.
Inspired by my recent visit to France, I knew that a black and white bathroom was the perfect timeless touch. Even better, this makeover was so affordable! No tile or plumbing changes and simple DIY updates make this an accessible project for anyone looking to transform a space.
And transformation it was! I can’t wait to show you.
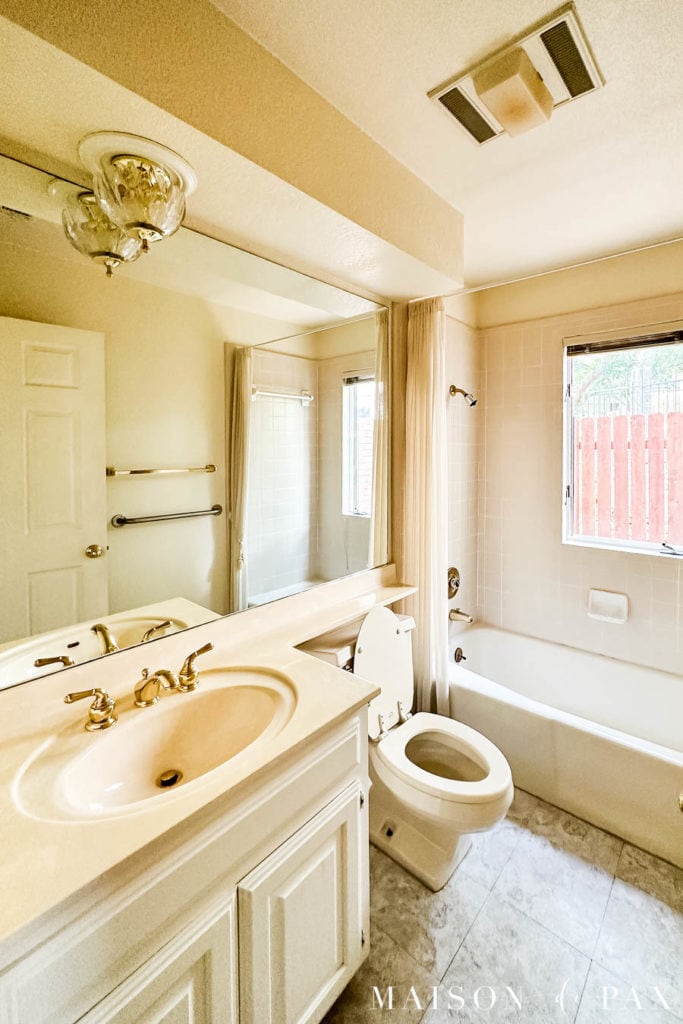
Before: 1980’s Bathroom Glory
I’ve been working hard to give our dated 80s home a more classic look. I think our new floors and my daughters’ bathroom and our bar makeover were definitely steps in the right direction! But each decision comes with cost… and for this guest bathroom, the decisions were extra tricky.
We may someday want to rearrange this space entirely so that it can function better as a pool bath. In the meantime, I didn’t want to spend a lot of money on it, but I didn’t want it to remain as it was. The dated fixtures, worn yellow cultured-marble countertops, and old vinyl flooring were definitely uninspiring.
It felt like everything – ceiling, sink, floors, walls, light, and more – was the same yellowy beige color scheme, definitely capturing the 1980s vibe. It was a high priority to tackle this outdated bathroom makeover!
Looking for more 80s bathroom renovations? Check out the black and white bathroom design in this classic primary bathroom with white subway tile and some blue accents in this charming guest bath from this client project!
This post contains affiliate links. Click here to read my full disclosure.
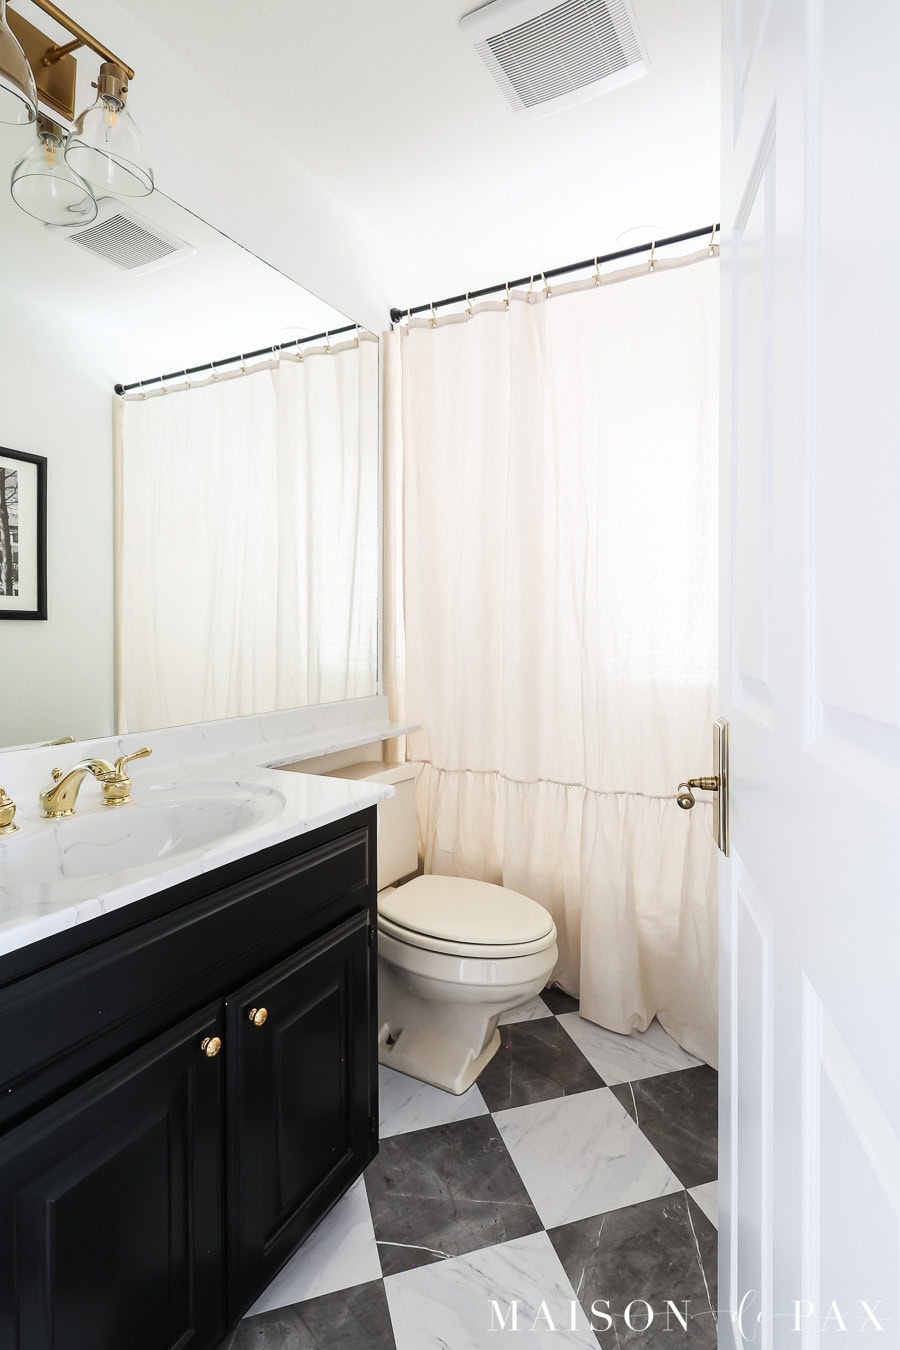
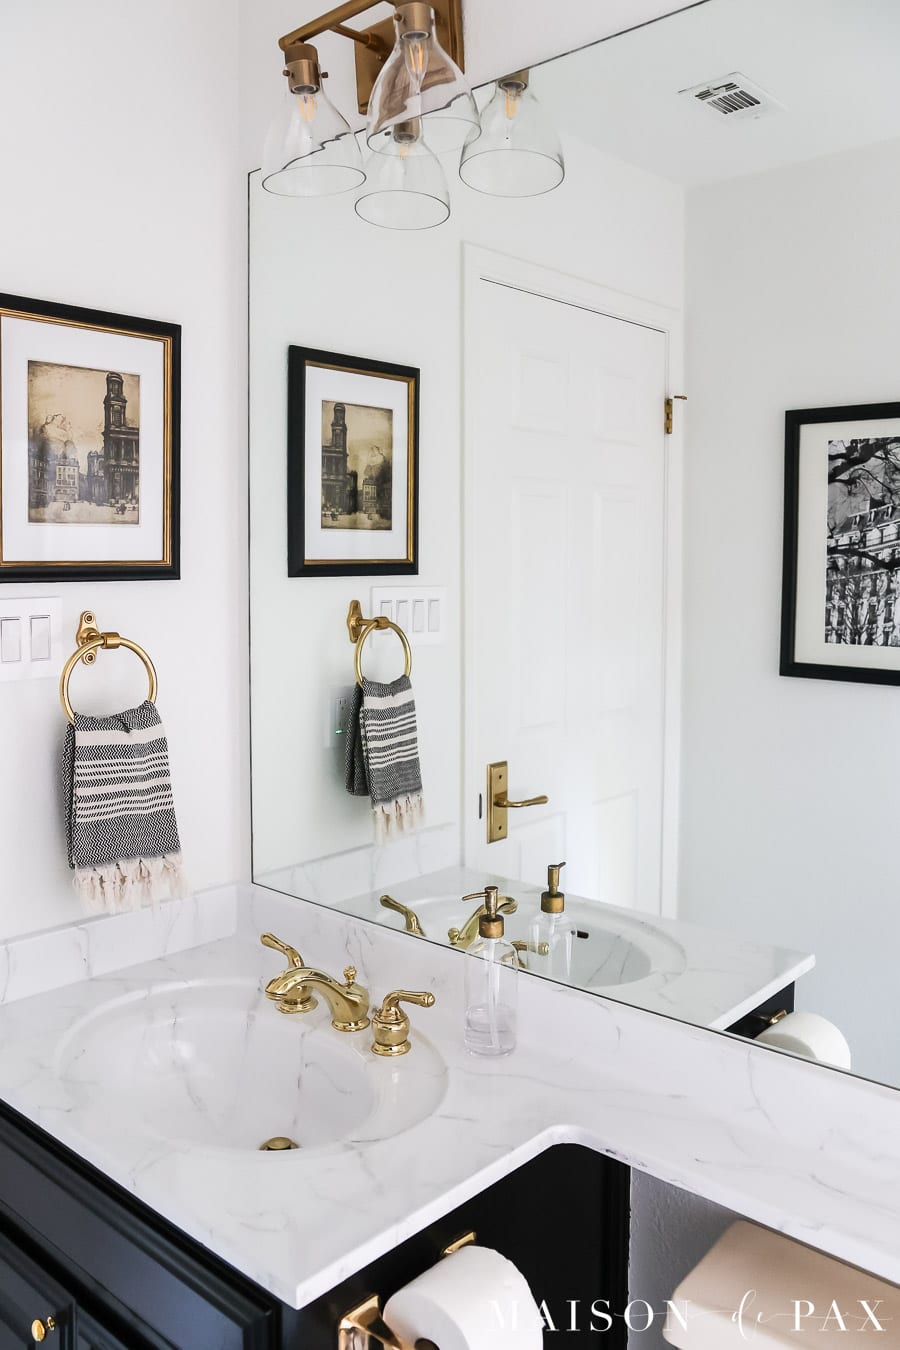
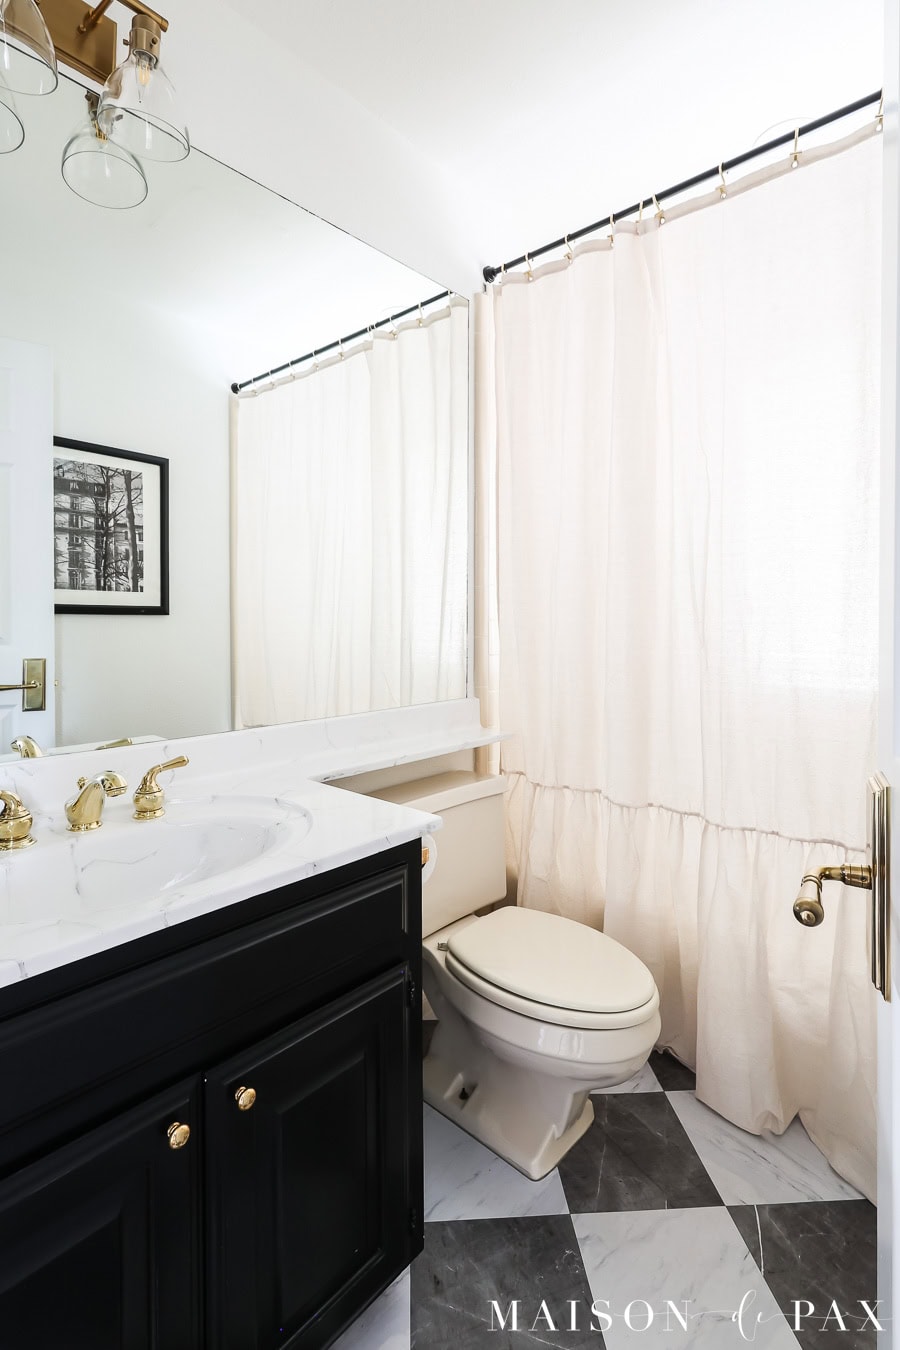
The After: Classic Black and White Bathroom
We accomplished the transformation of this small space with 6 simple updates. Here are some affordable outdated bathroom remodel ideas for you to try:
1. Remove fur down and paint
Full disclosure, we hired out this part. While I’m getting pretty good at skim coating walls, I’m not good and matching texture. And removing the dated soffit (or fur down as we call them in Texas) was an easy job for the crew we had in to paint before we moved in.
A fresh coat of paint works wonders! SW Pure White, one of my favorite fresh white paint colors, brought a touch of warmth while changing the yellow beige of the walls and ceiling. By contrast, the beige tub and toilet and ceramic tile in the shower (which used to look a bit pink or yellow next to the wall color) now looks a true neutral beige next to the white walls. And I rather like the charm of the beige accents in the black and white color palette.
After that, we were ready to let the DIY projects roll.
2. Replace outdated light fixtures
Once the fur down was removed, a new wall sconce (generously provided by Hunter Fan) paired with some led recessed lighting (which we used throughout the house) made a huge difference. Out with the brass boob lights, in with the charm! We also replaced the ancient bathroom fan/heater at the time.
3. Update the bathroom vanity cabinet
Get the tutorial for painting cabinets the right way (so they’ll last!) here.
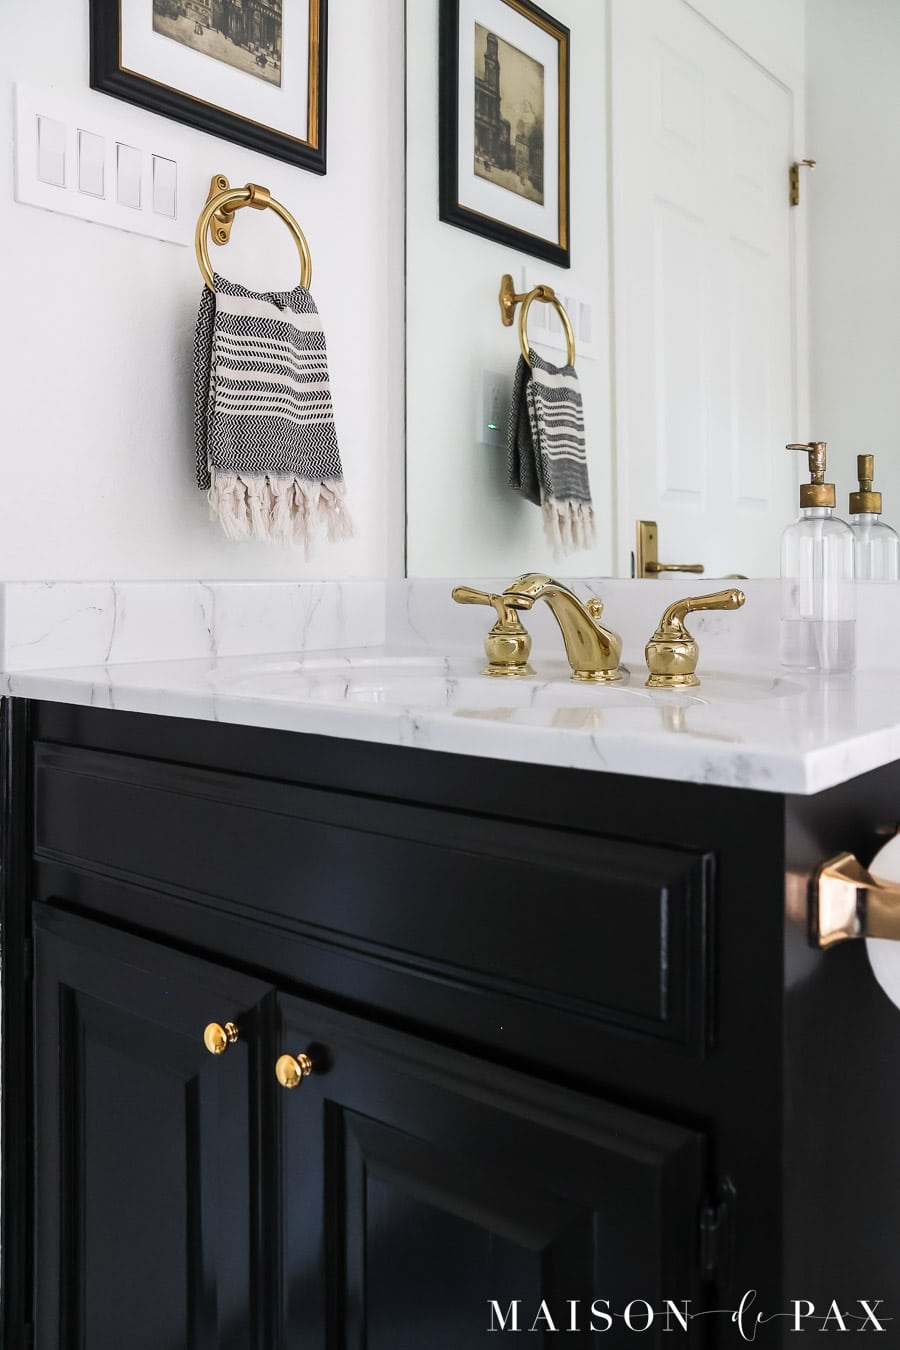
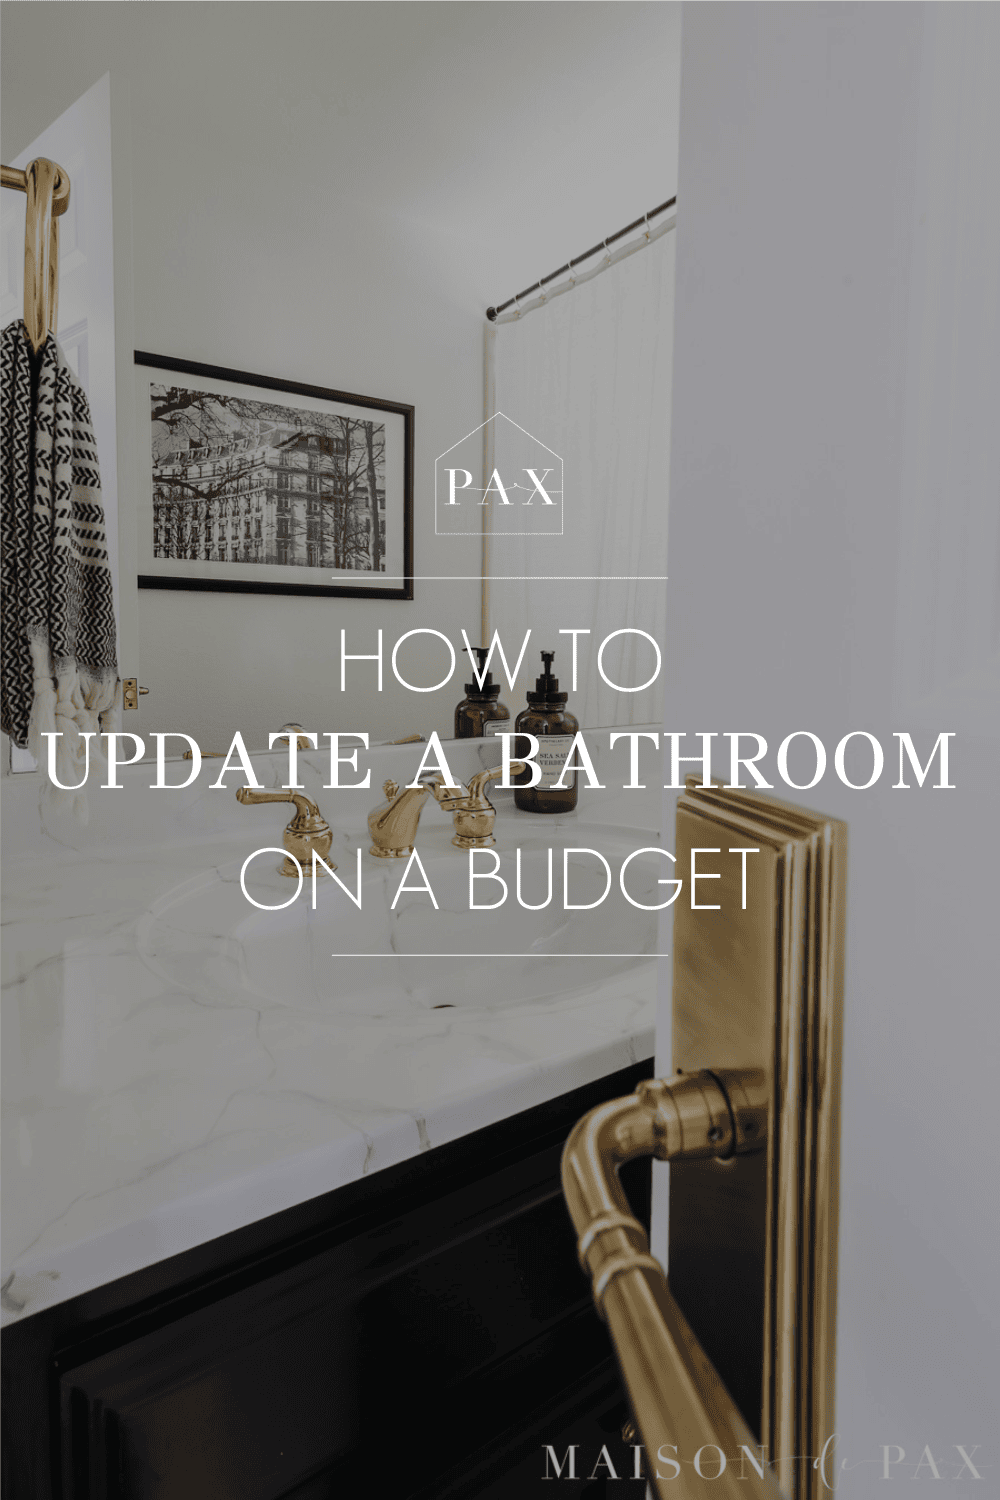
We didn’t need much storage. in this guest bath, so we simply updated the vanity. Paint is so powerful. We used a Sherwin Williams Tricorn Black in semigloss for a more formal look (get all my tips on choosing the right paint sheen here). I followed my tried-and-true method for painting cabinets, and it came out beautifully.
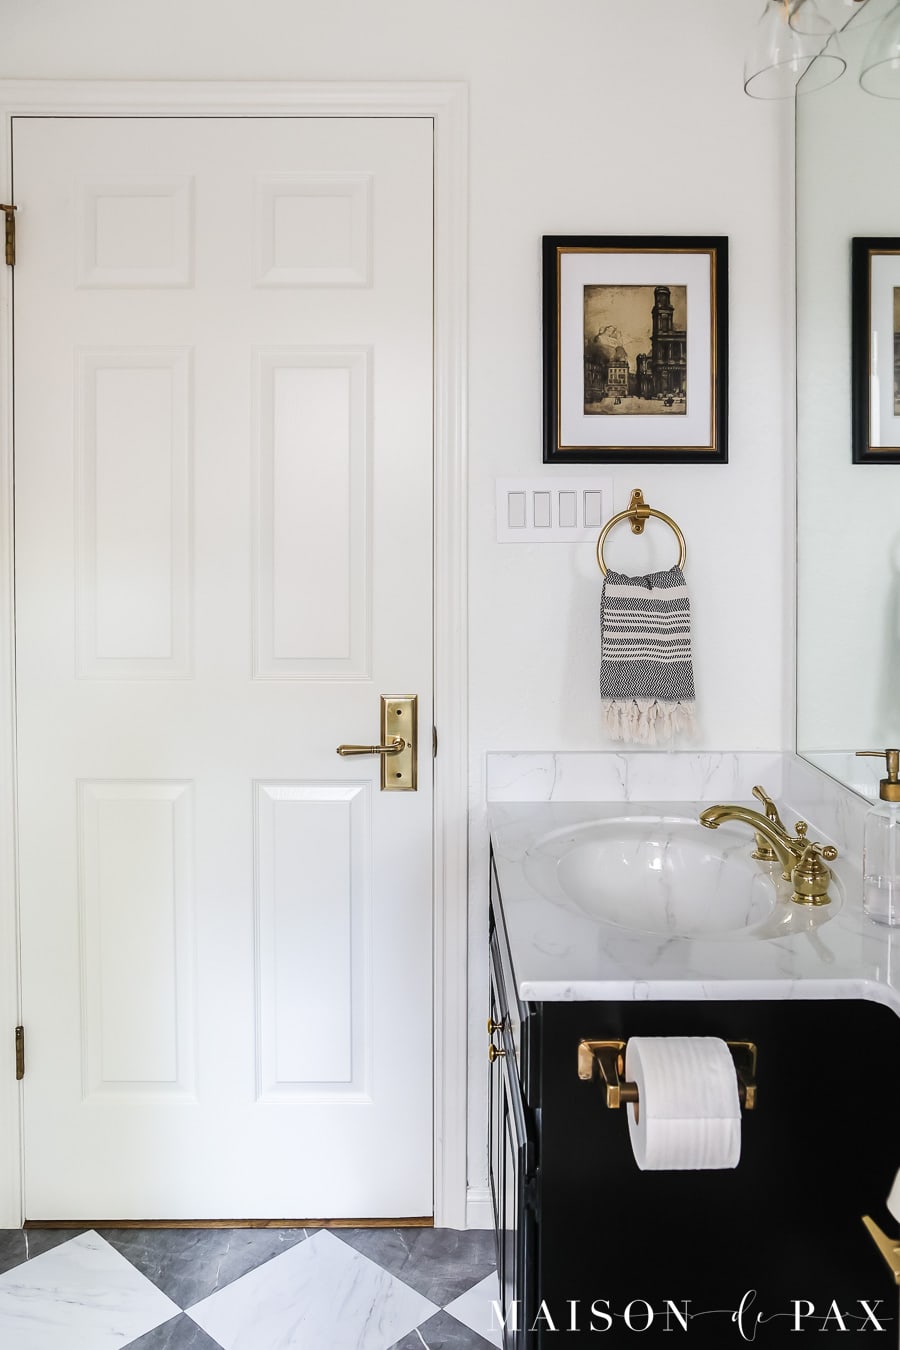
I also added my favorite little unlacquered brass knobs to the now bold black vanity. Gorgeous heavy real brass that will tarnish with age and add sophistication to the space.
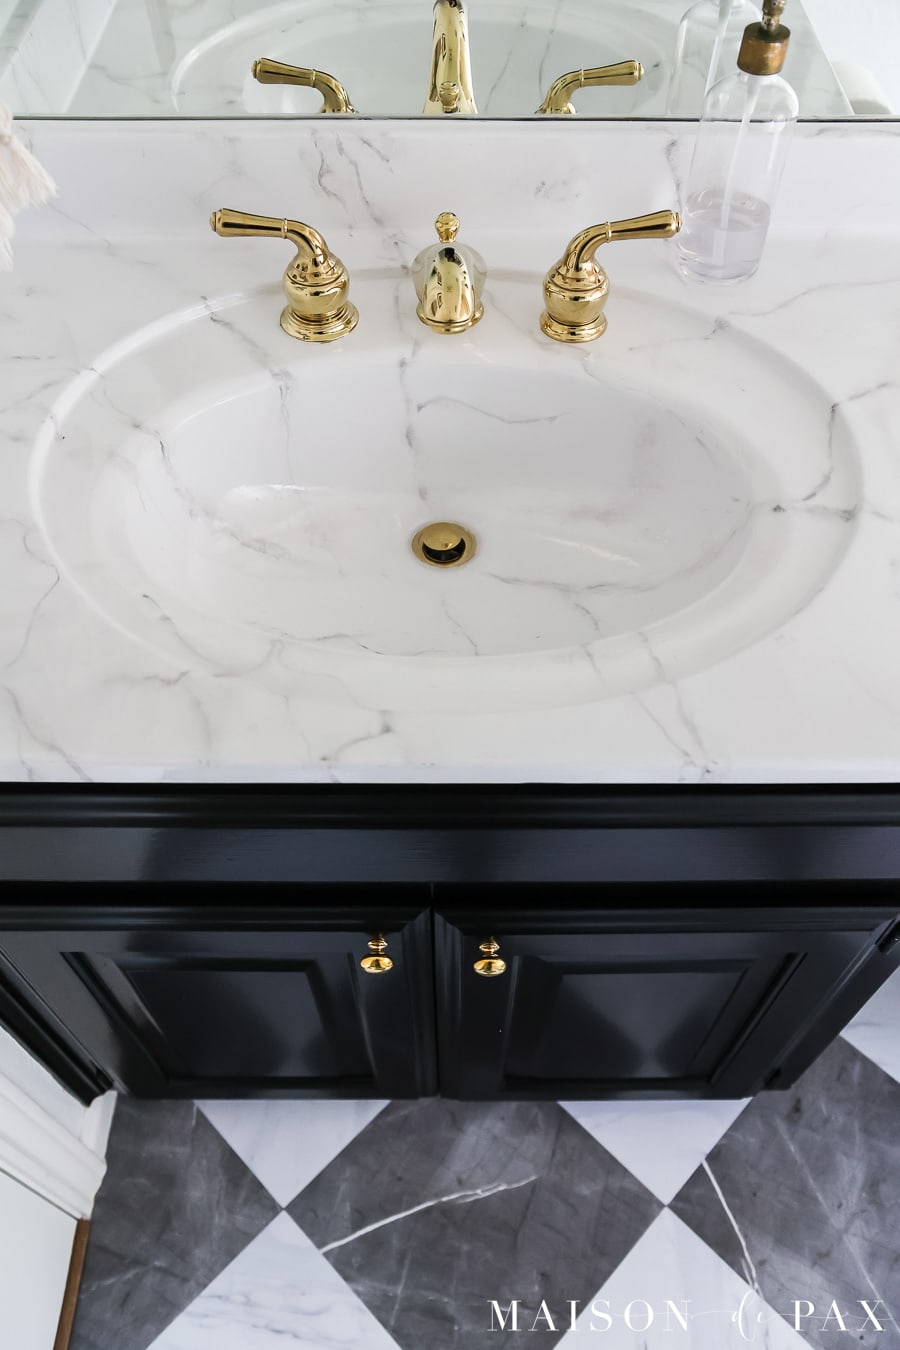
4. Create a faux marble countertop
This was by far the most dramatic transformation in the space. I hated the stained cultured marble, but I chose to go the DIY route because I wasn’t ready to spend money on a nice countertop that we would likely replace later.
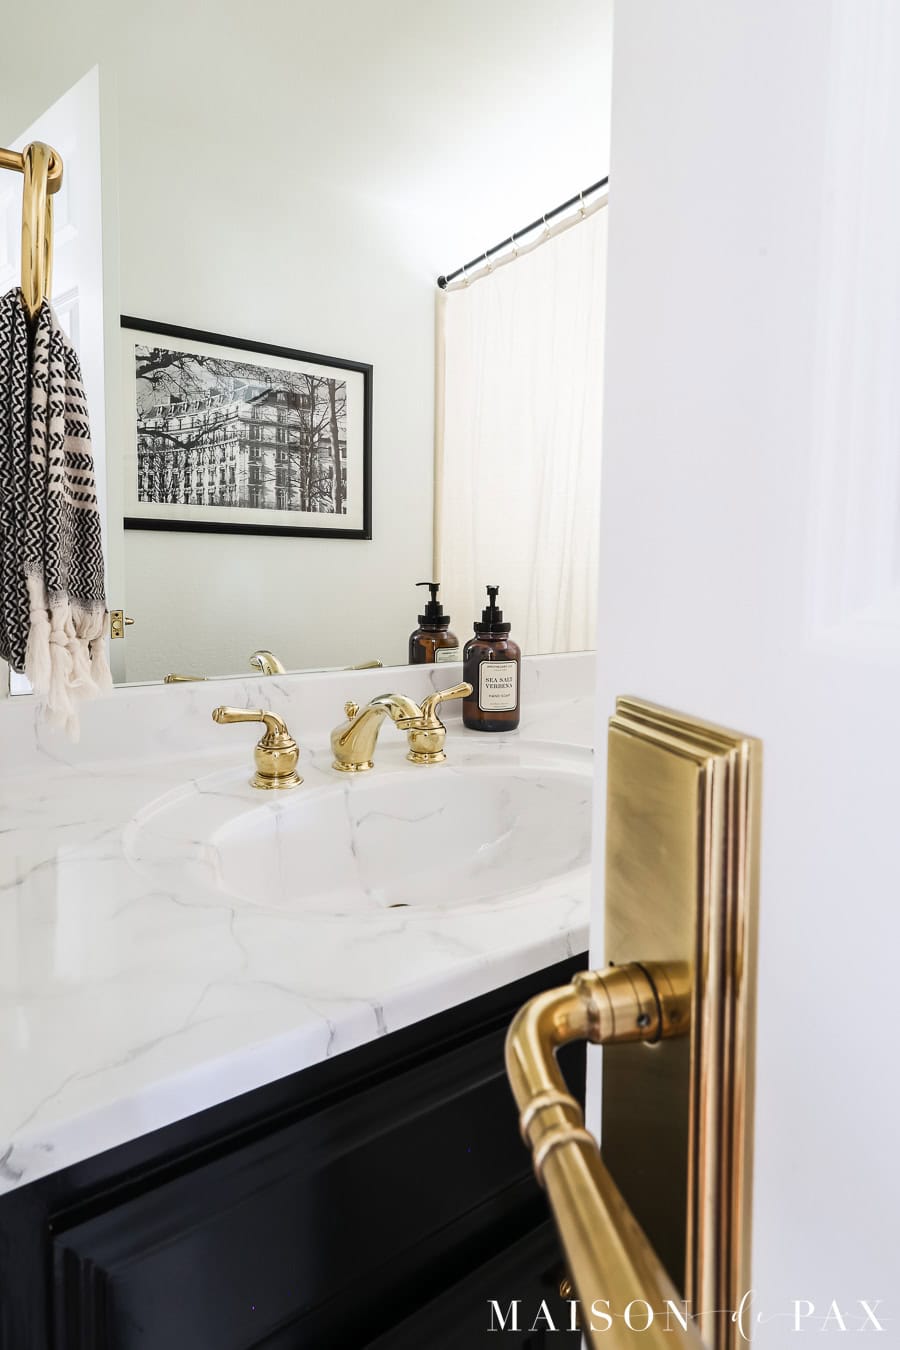
So I took a risk on a faux marble kit, and it was so easy. I got the polished and elegant look of marble for a mere fraction of the cost. And the combo of the 80s brass faucets actually look pretty against the fresh marble look, saving us the cost of a new faucet. What a transformation!
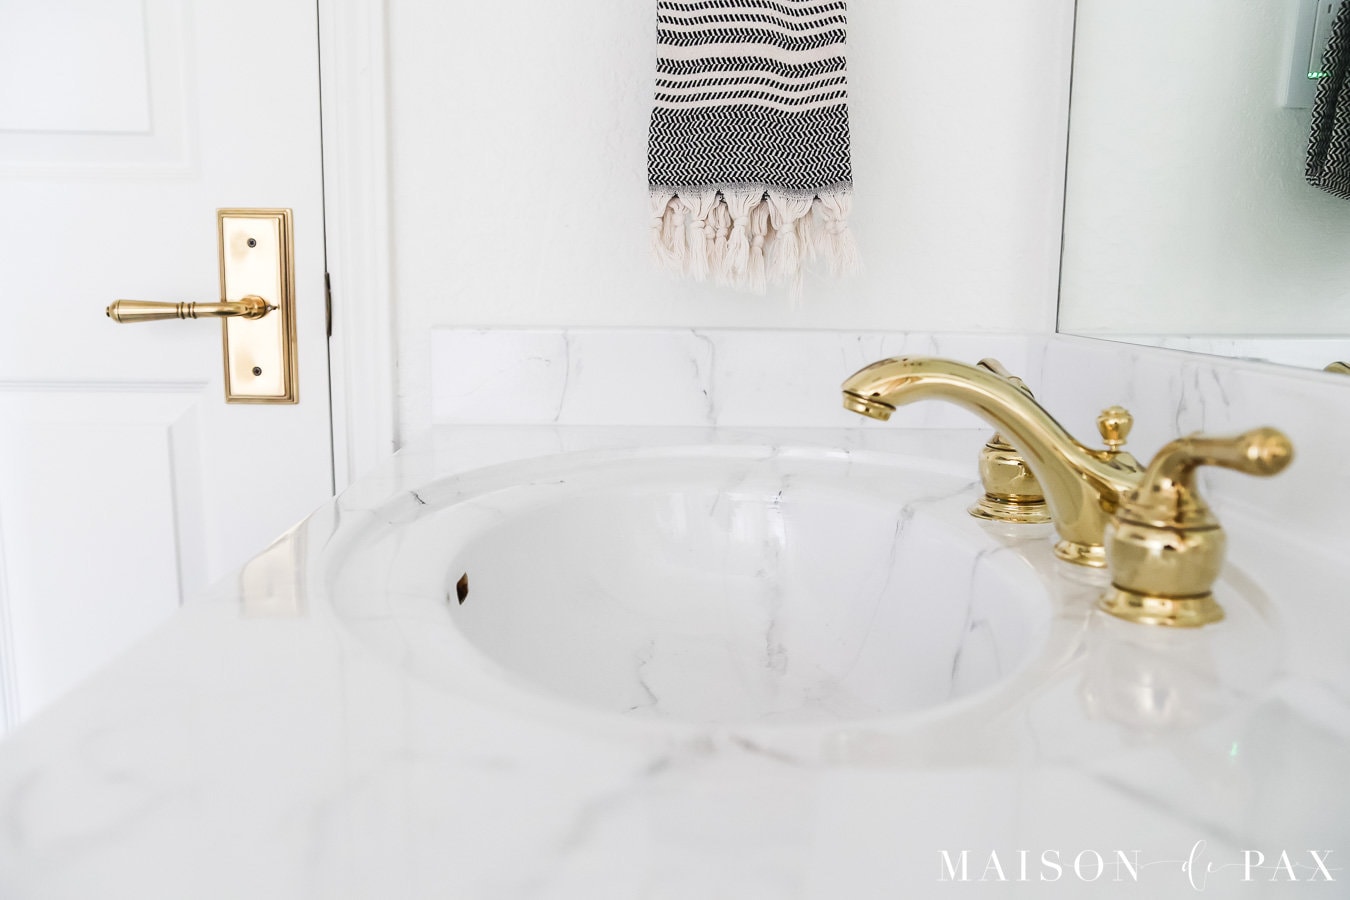
Get the full tutorial for the faux marble painted countertop project here.
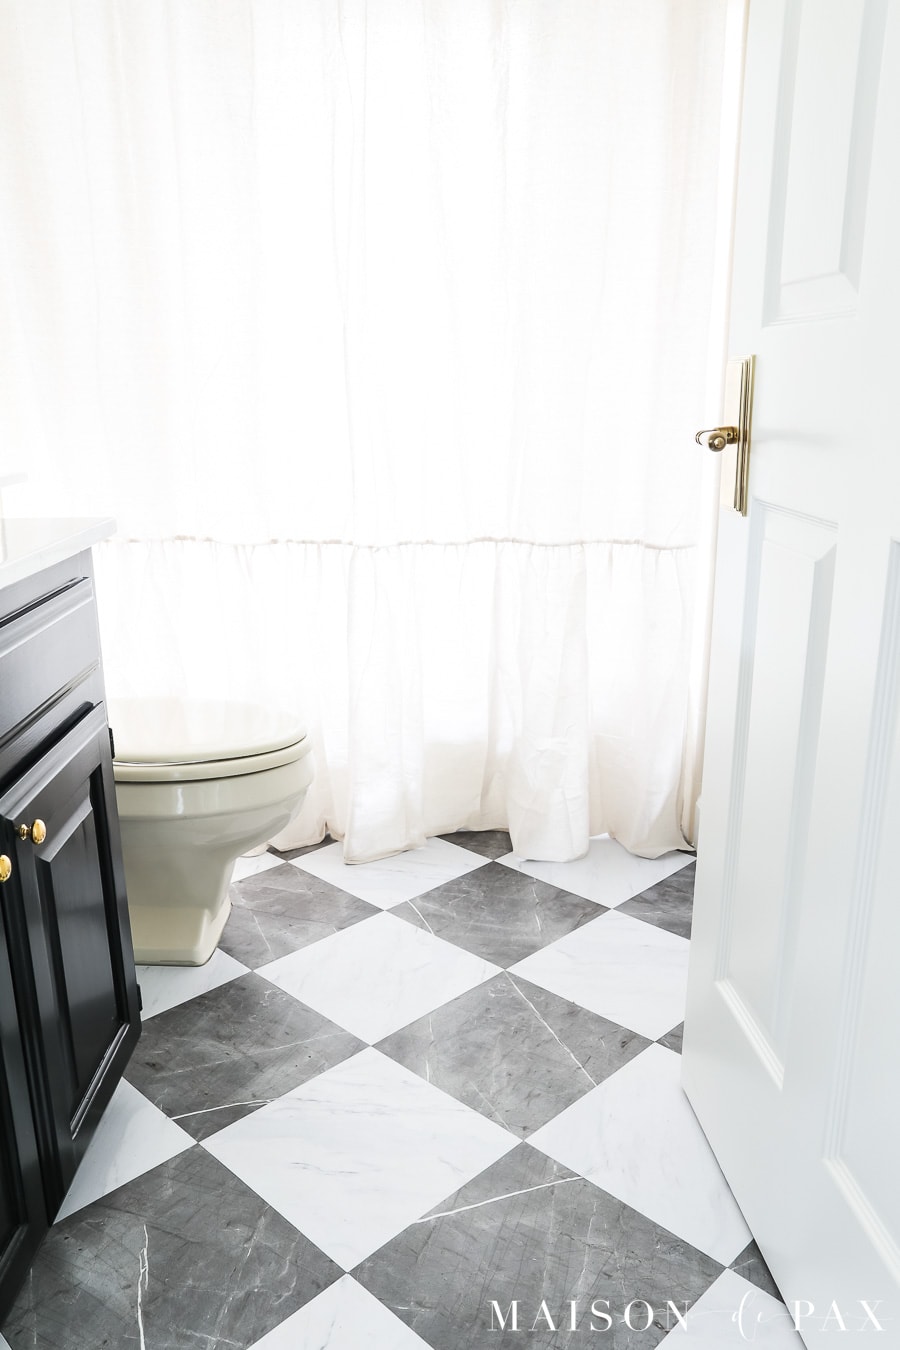
5. Install Peel-and-Stick Harlequin Floor Tiles
Actually, maybe this is my favorite part of the upgrades… it’s a tough competition! Truly, though, for just ~$60 and a half day of labor, I achieved the black and white marble look floor of my dreams. Laying the black and white tile in a harlequin pattern only adds to its charm.
Is peel and stick floor a permanent solution for a bathroom floor? Probably not. But we’ve been using it for over a year without any issues. It still looks as good as new!
Get the full tutorial for the peel-and-stick floor tile here.
6. Hang a Neutral Shower Curtain
Rather than a stark black or white curtain, I like to soften the contrast with a neutral linen curtain. I especially love the subtle ruffle of this affordable shower curtain from Amazon. And bonus, a pretty shower curtain hides the bathtub if it’s not in the best shape.
7. Add Art and Bathroom Decor Accessories
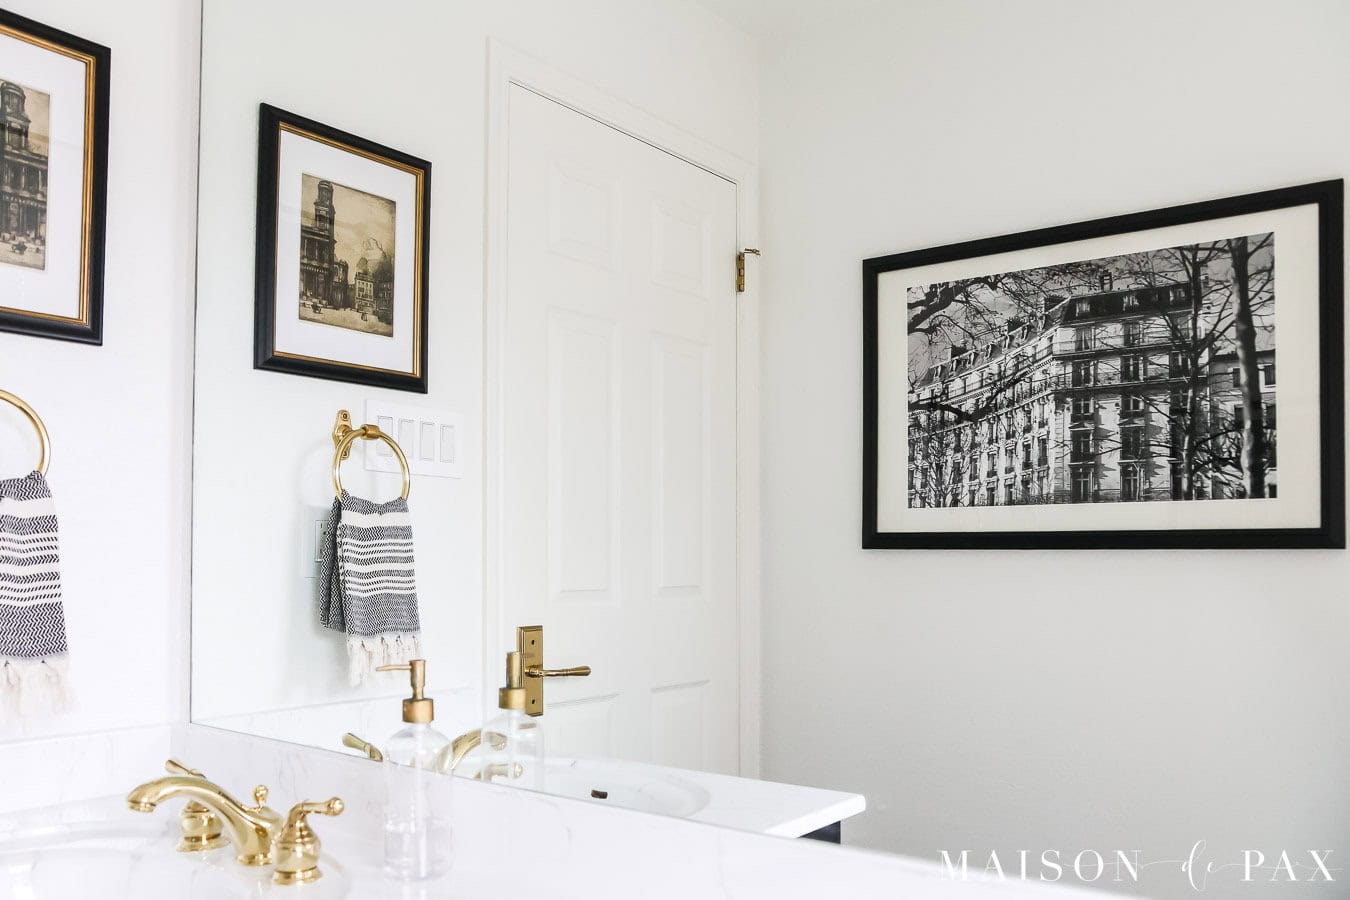
I am pretty good about clearing out my house and purging my belongings… except when it comes to artwork. So fortunately, I was able to use frames and prints I already had. Simple black and white art can create a gallery-like feel. The large black and white photograph I took when we lived in Paris.
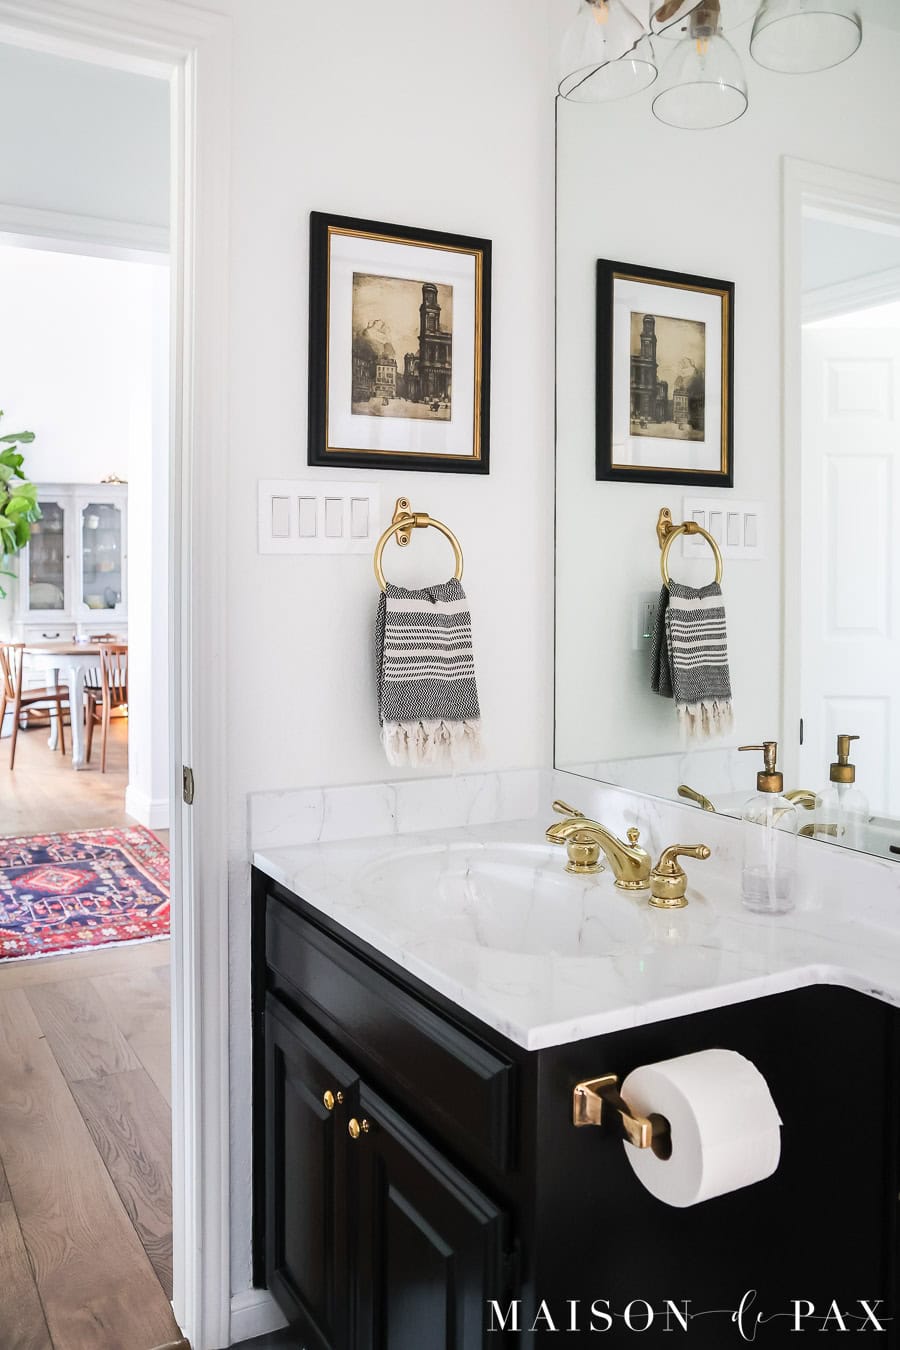
And the vintage sketch of St Sulpice (which was just about a 10 minute walk from our apartment there) was a free print I found online. See this post for more information about finding free artwork online. And I added the charming gold touch to the frame myself using this favorite magic trick.
I was fortunate to be able to reuse the brass toilet paper holder (gotta love how 80s brass fixtures are coming back, baby!), and I had found a brass towel ring on clearance for $17 some time ago. I love using turkish hand towels as decor in bathrooms to elevate the space.
What We Spent: Budget Breakdown
If you are looking to conquer an affordable small bathroom remodel, I think you’ll see the potential here! (Note: these were the prices at the time of our purchase. They are subject to change.)
- labor costs (removing fur down and sheetrock) – $200
- paint – we used leftover from the rest of the house, but to buy new would be ~$50
- recessed lights – $30 ($15 each)
- vanity light – $180 (a splurge compared to the rest of these things!)
- exhaust fan – $80
- countertop kit – $110
- floor tile – $63
- shower curtain – $23 (already had the rod and hooks)
- towel ring – $17
- art – free from my hoarding stash 😉
- total cost – $753
FAQs About Budget-Friendly Bathroom Renovations
Q: How durable are peel-and-stick tiles?
For our low-traffic guest bath, they still look perfect more than a year later! I think they would hold up well in a medium-traffic bathroom, as well. They probably would not last as long in a high-traffic space, but they could still be a good temporary solution. Get more details on proper surface prep (which is key!), use, and durability here.
Q: Is it hard to paint a countertop?
The faux marble paint kit is beginner-friendly! It gives all the instructions for proper prep and sealing. Get all my tips and what I wish I knew before I started here.
Q: Can I create a black and white bathroom in a rental?
Some people promote peel and stick floor tiles for rentals, but I have not tried to remove them… So consider that at your own risk. I imagine that the adhesive that makes them durable would also make them difficult to remove. However, new shower curtains and artwork are always good options for rental bathrooms. And depending on your lease, paint may be an option, as well.
Conclusion
For a diy bathroom remodel, I love how these affordable options transformed our space! And I hope that it has given you some budget-friendly bathroom ideas that you can use in your own home.


Oooh, I love this (both the new bathroom itself, and the helpful post about it)! Well done. This new bathroom is gorgeous and inspiring.
Thank you so much!
Such a stunning transformation! Love how classic and timeless black and white feels, and the fact that it’s budget-friendly makes it even better. Proof that simple DIY updates can make a huge impact!.
Thank you!
I love this so much! I’ve been dreaming of painting the bathroom vanity in my kid’s bathroom for ages, so I will definitely need to go look at your tutorial. How has it held up with the moisture from the shower? My kids take really hot showers, so that’s my biggest concern with painting it. Thanks so much for sharing!
I understand! I haven’t had any problems. This one, admittedly, doesn’t get regular use… But the one I painted in the tutorial withstood 6 years of being the primary bathroom for my kids. And it held up beautifully!