Backyard Update: Granite Paths and Lighting
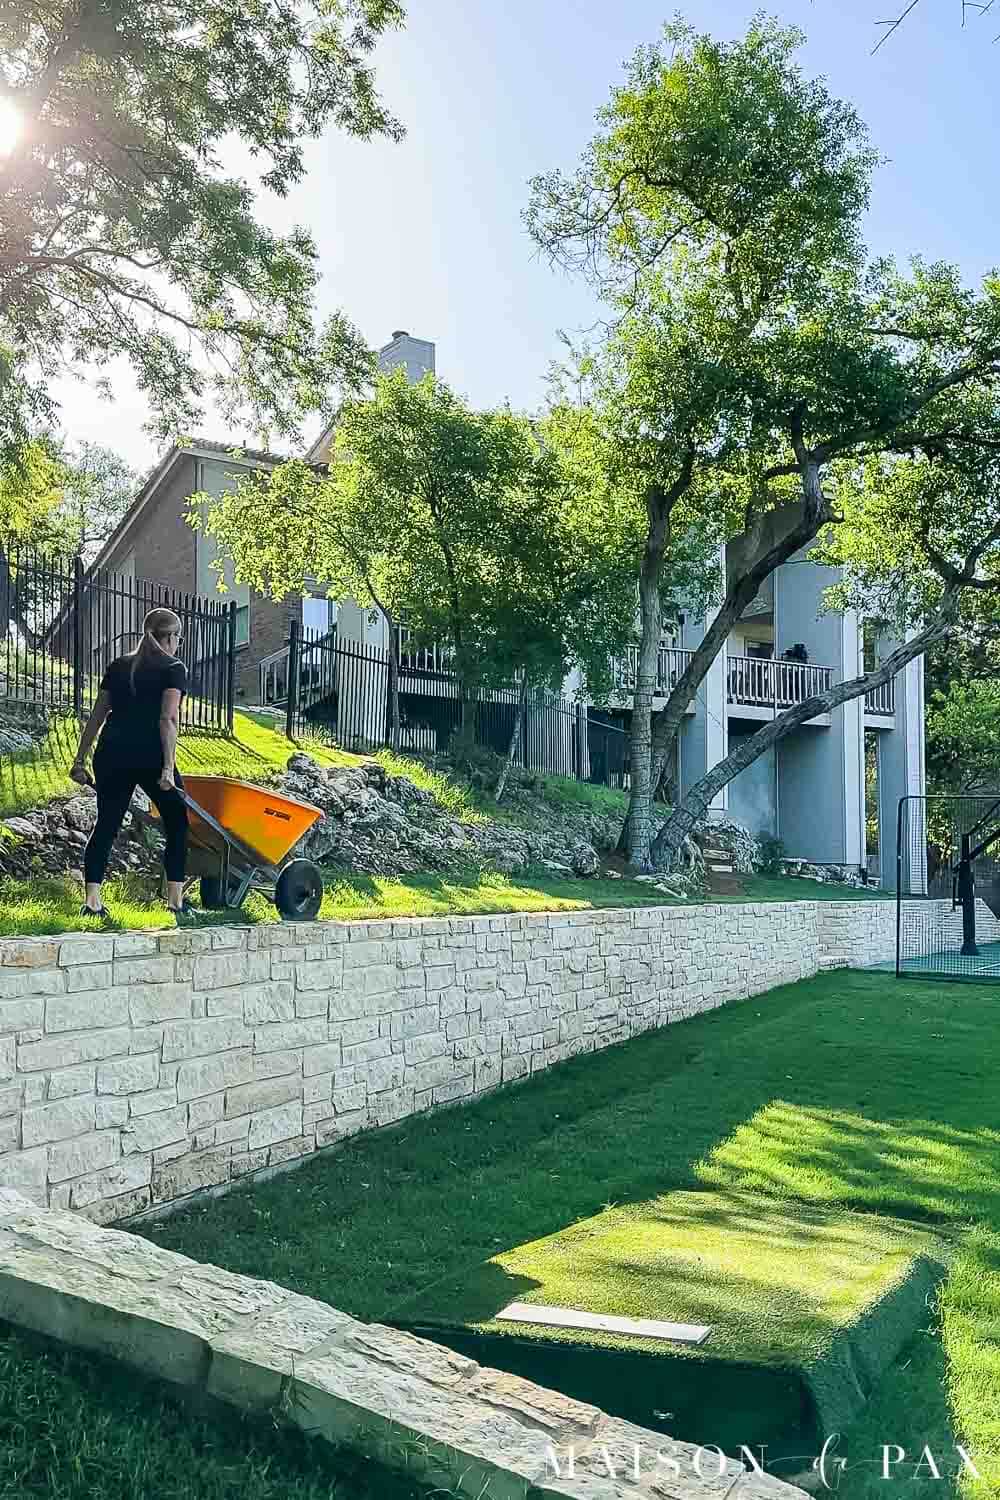
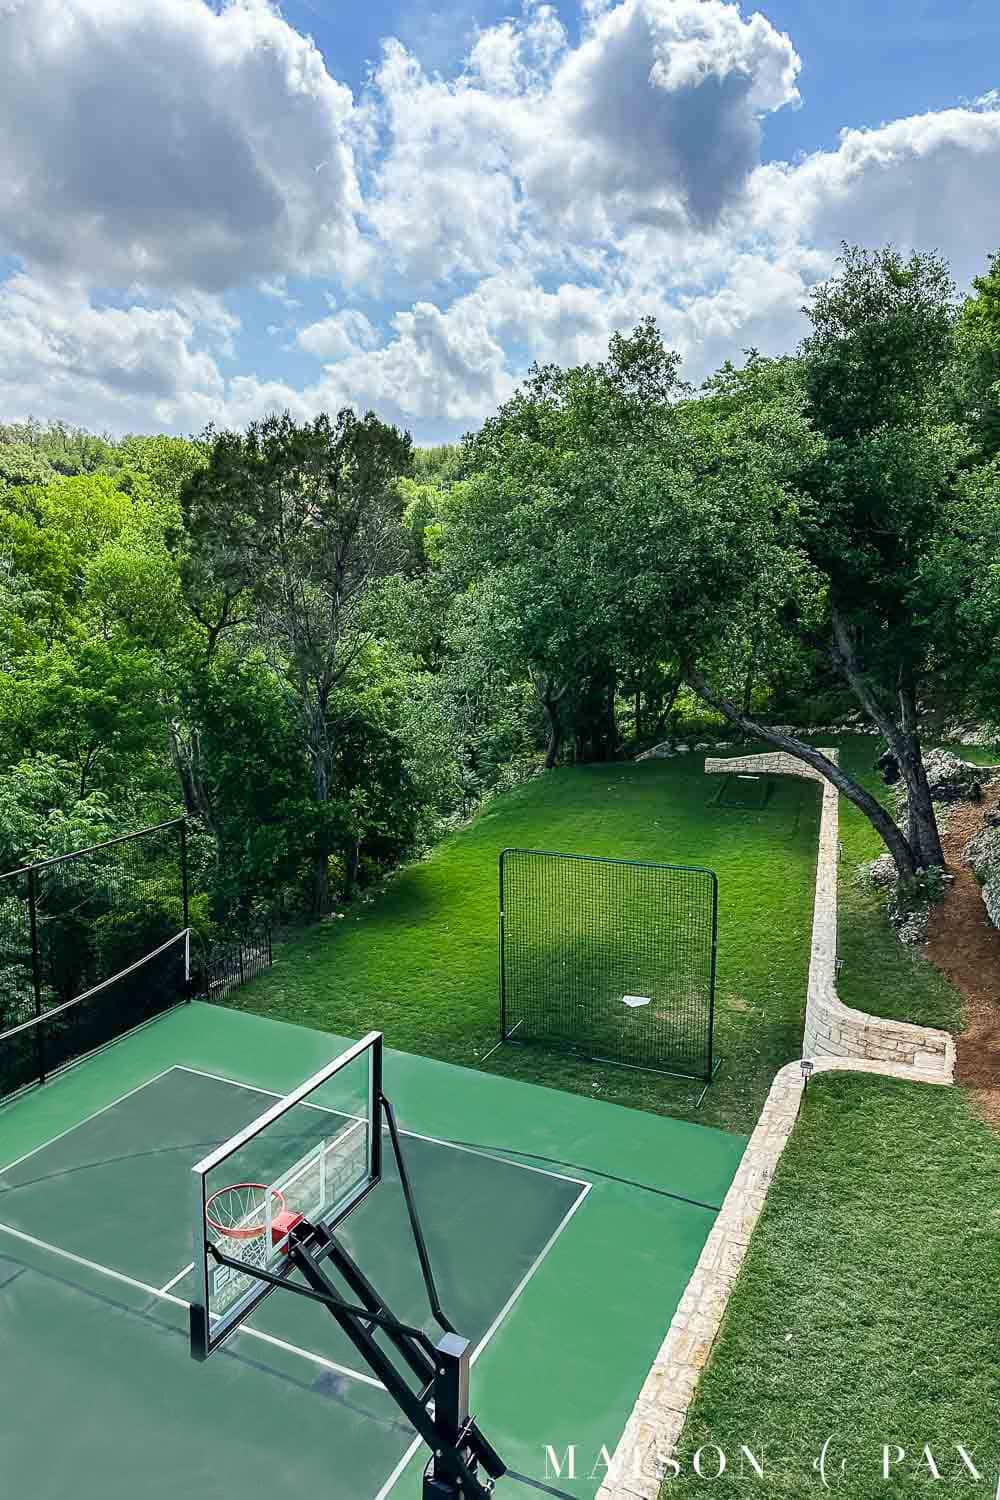
Last summer, we completed a huge outdoor renovation, terracing our backyard and installing a sport court. This year, our goal was to spruce up the new space with fresh crushed granite pathways, mulch, and lighting. Find out how to install a decomposed granite path and get tips for sprucing up your own backyard!
This post is sponsored by The Home Depot. All opinions are my own.
When The Home Depot asked me what I was working on, I was right in the middle of making my backyard wishlist, including low-maintenance landscape, solar lights, and gravel paths.
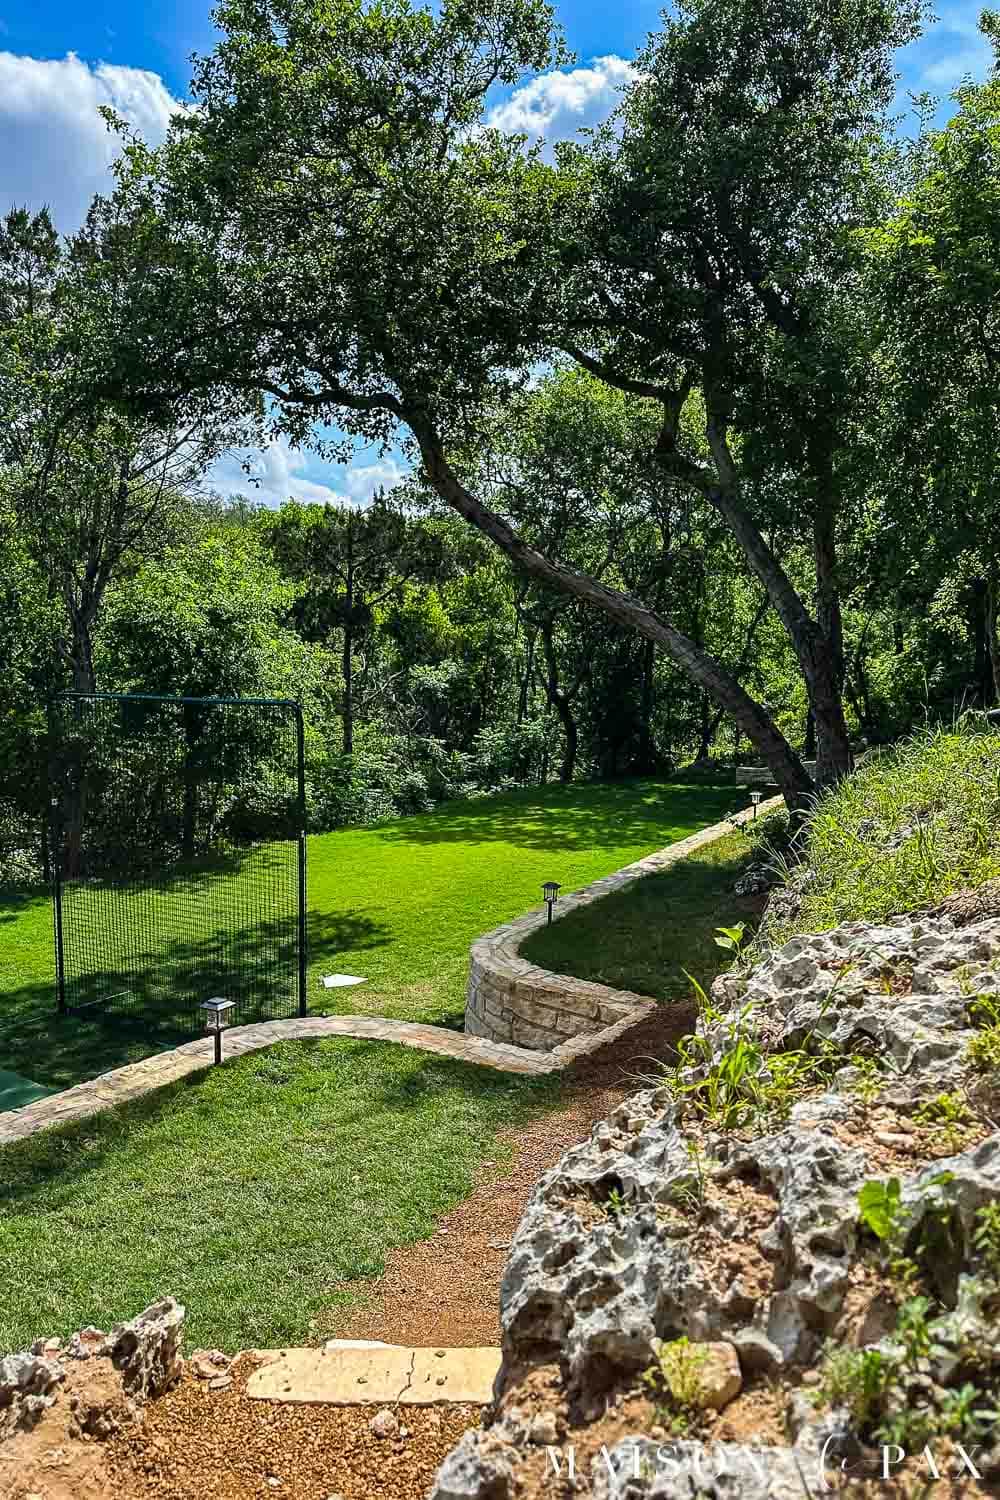
Last year’s outdoor space project was huge. It involved excavation, retaining walls, and a sport court. In the end it was truly beautiful.
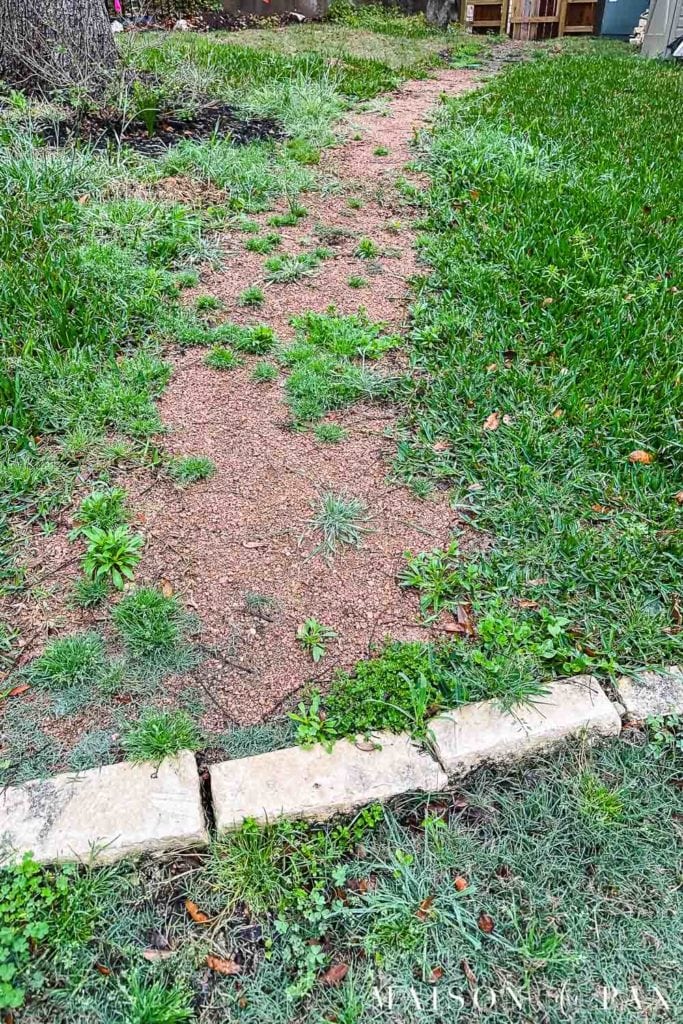
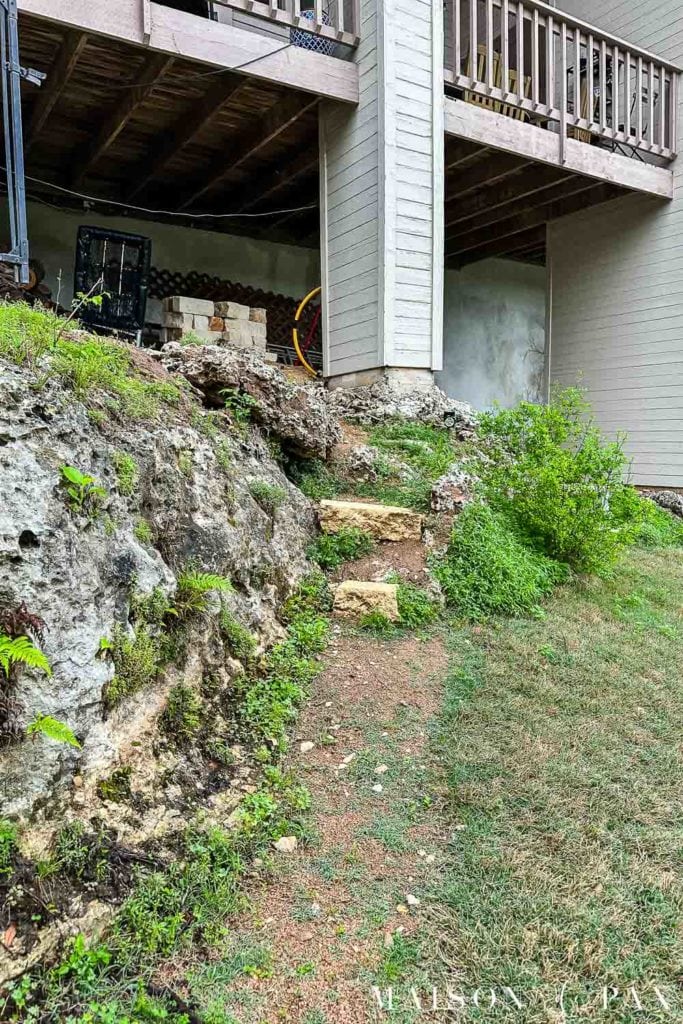
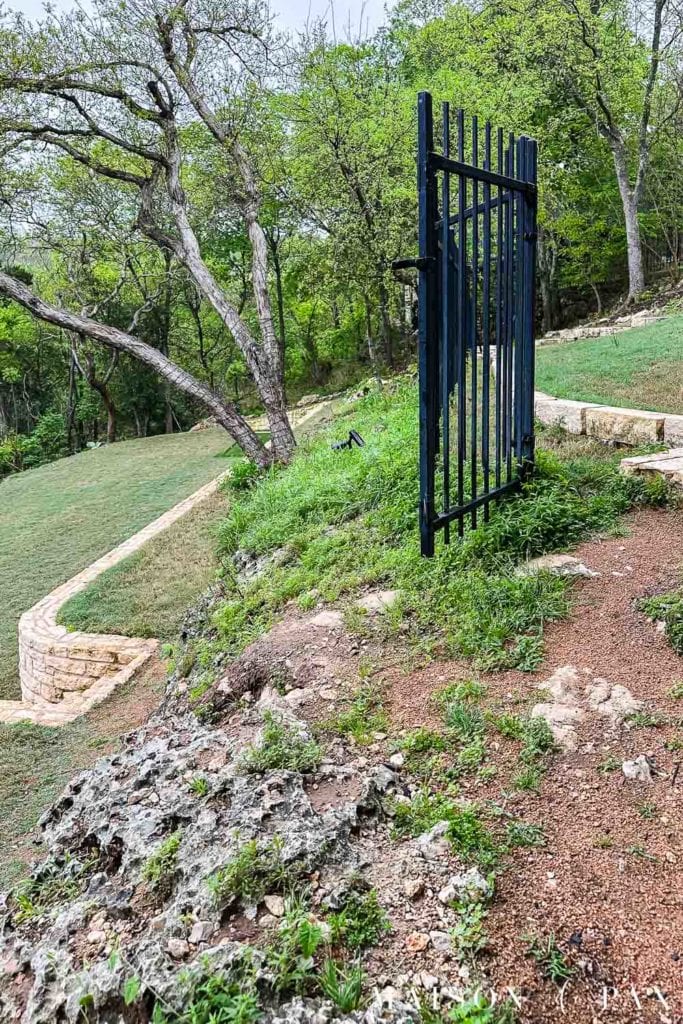
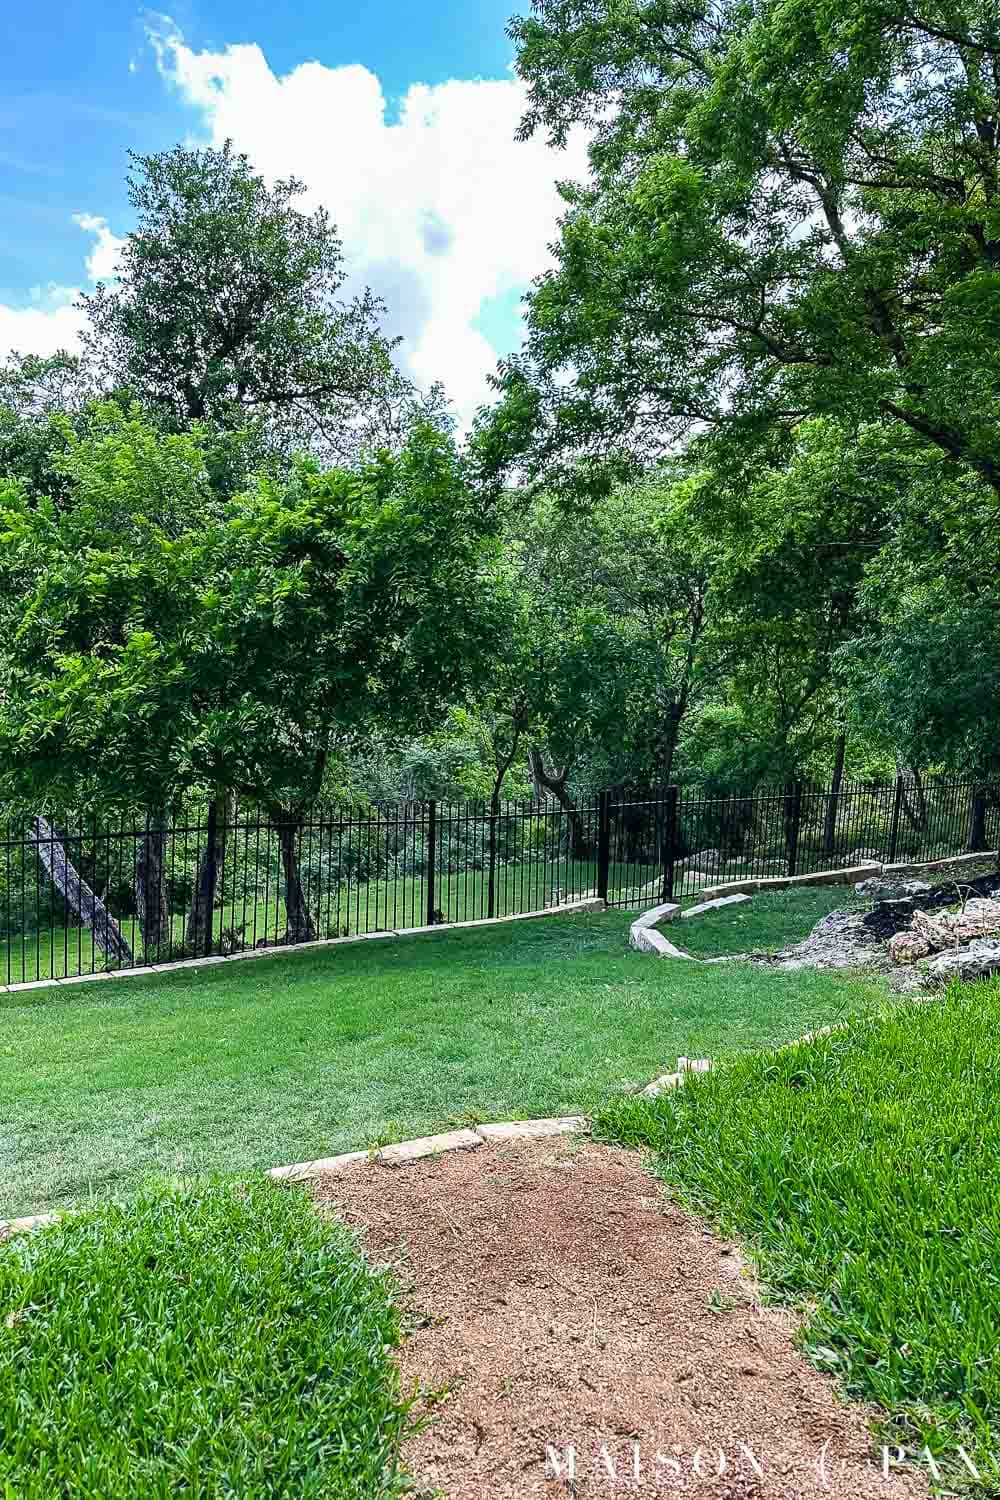
But up close by this spring, parts of it were overgrown, weedy, and tough to navigate at night.
So this spring’s project was to clean up the existing paths, the steps, and the beds. And to add some more paths and lighting so we could use the space better in the evenings. Ultimately, the goal for all these things was a low maintenance but beautiful backyard living space! And fortunately, I was able to get all the things I needed at The Home Depot.
The highest priority of the project was the granite pathways.
Is decomposed granite good for walkways?
Decomposed granite walkways are a fantastic choice for heavy foot traffic, offering durability as well as permeability. Plus, as a bonus, the natural stone blends beautifully with our central Texas landscape. And it’s less likely to be washed away by heavy rainfall than soil… which makes it an excellent choice for our very sloped backyard!
Regardless of your space, though, I think crushed granite is a wonderful option for patios, dining areas, walkways, game spaces, high-traffic areas, and more. It offers drainage, helps fight weed growth, and looks clean and natural.
We wanted to work with the natural stone rugged terrain of our backyard, rather than against it. Also, we constantly have friends who come through the side gate and straight to the back… so there was a natural walkway where we struggled to grow grass. In both cases, crushed granite paths seemed the wise solution.
How to Install Decomposed Granite Walkway
This post contains affiliate links. Click here to read my full disclosure.
As with most things, proper installation is important! I was able to get everything I needed for yard maintenance as well as these upgrade projects at The Home Depot. And everything was either delivered to my door or available via order pick up.
Here is what you’ll need for a granite path:
- Round Up spray
- decomposed granite
- optional: landscape fabric and landscape edging
- tools: edger, leaf blower, wheelbarrow, tamper, shovels, rakes, and water hose
GET YOUR LANDSCAPING MATERIALS:
Step 1 – Prep your space for a granite walkway
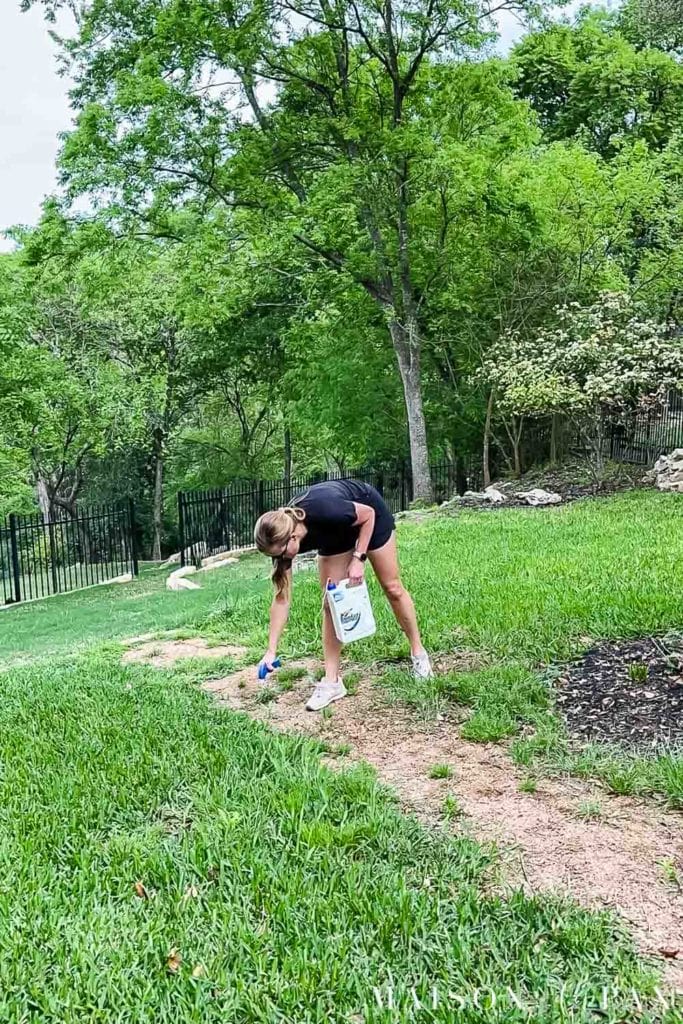
If you are replacing grass, you’ll want to cut out the turf if possible. If you are simply transforming a rocky area (like we were) into a pathway area, then you can spray all the weed growth with Round Up to start.
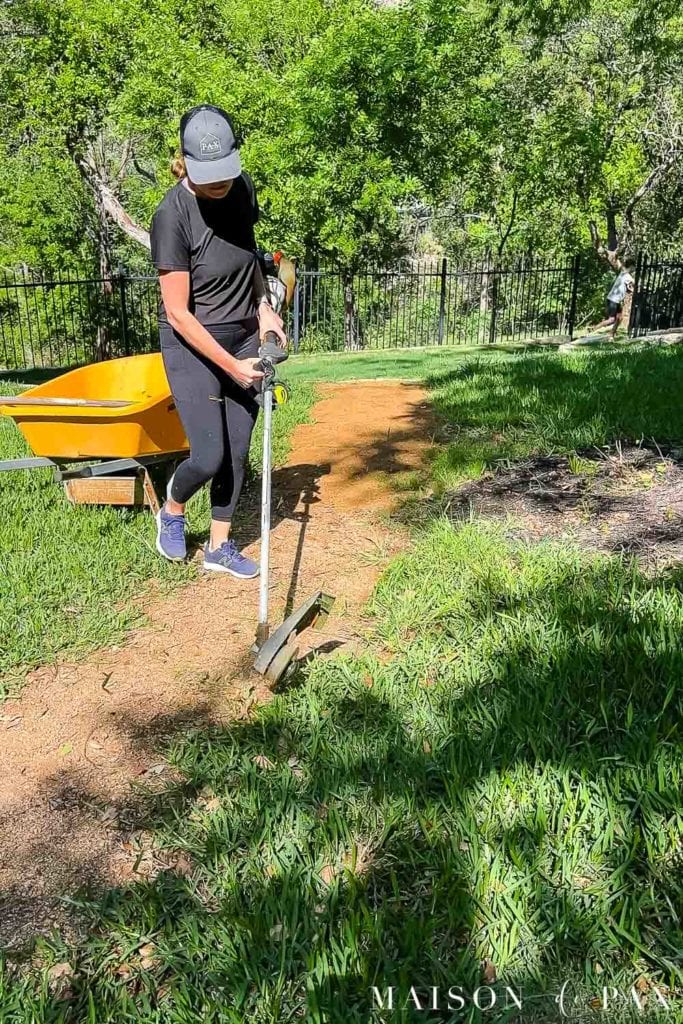
You’ll also want to carefully trim the sides of the pathway area. You can either edge them with a trimmer, as we did, or you can install actual landscape edging. The advantage to landscape is obvious: a defined edge to your pathway. In our case, though, we wanted most of the granite paths to blend naturally into the rocky landscape, so we skipped that.
Additionally, if you have particularly damp or soft soil, then you may want to lay down a base material. This crushed rock or gravel base layer allows for proper drainage and support. Our ground is essentially caliche rock, so we didn’t need an additional layer. If you do add a base layer, you’ll want to tamp it down; this compacts the crushed stone.
Step 2 – Install weed barrier fabric to your pathways
Again, we opted not to do this because of the irregularity of most of our paths. But I do highly recommend it, especially if you are creating a level path. Essentially, thin layers of fabric block out weed growth and are then covered with your crushed granite.
If you choose to do this, cut the paper to lay it flat across your path.
Step 3 – Lay down your crushed granite
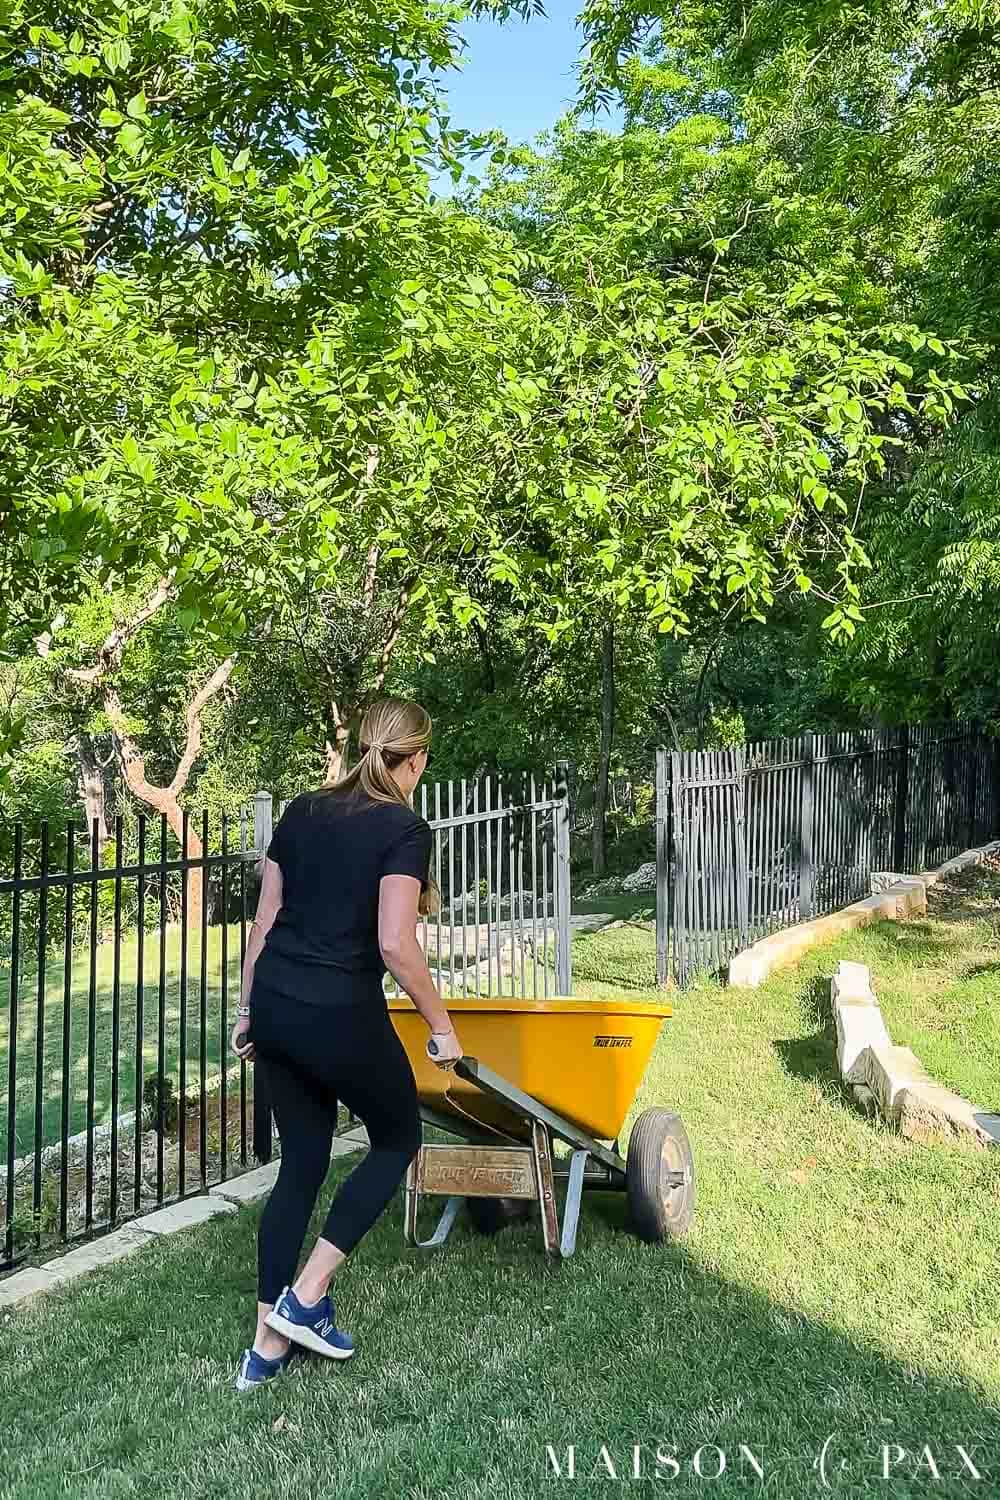
With the extent of paths we were creating and refreshing, we had to have an entire yard of granite delivered, but all past projects we did (like in the backyard of our last house), we used bags of granite. Either way, decomposed granite is heavy. You’ll want a wheelbarrow to move the crushed stone.
Tip: Need a workout? Move some crushed granite. 😉 Also, I highly recommend two wheels rather than one. We’ve had ours for years, and I don’t see it available anymore, but this one has similar features.
To spread the stone, use a heavy rake. Follow by tamping. This will help protect it against washing away in heavy rain.
Tip: The bags are nice because you can set them at intervals along your path, slice them open, and spread the granite with a rake.
Step 4 – Water the granite paths
Lightly water your paths to help the decomposed granite bind to itself. This will make it more durable.
Finishing off around the granite paths
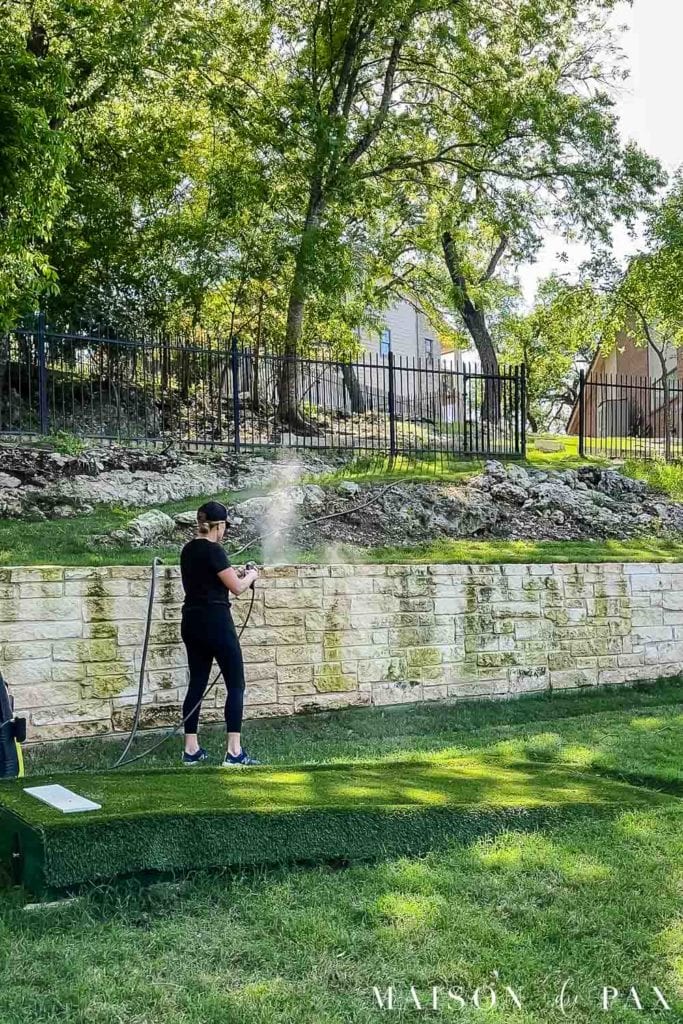
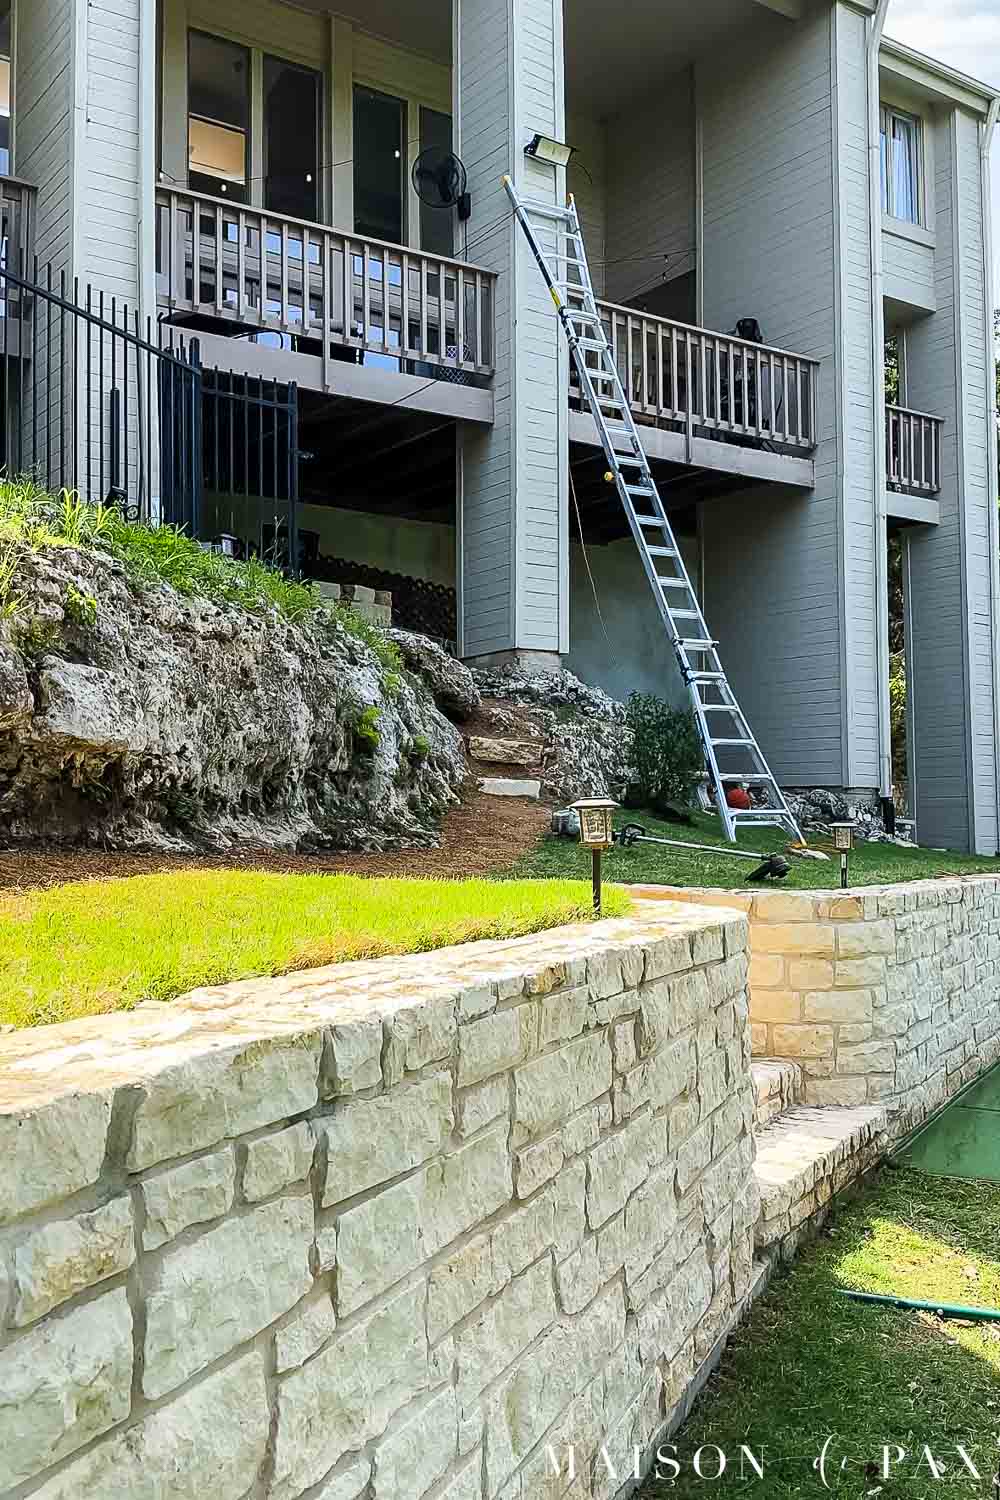
To show off our new paths, we had some general maintenance and some finishing touches to tackle. We started by pressure washing the stone walls.
Tip: Consider investing in a pressure washer for seasonal maintenance. We love our little electric one and use it often. This particular model is no longer available, but here is a newer but similar power washer.
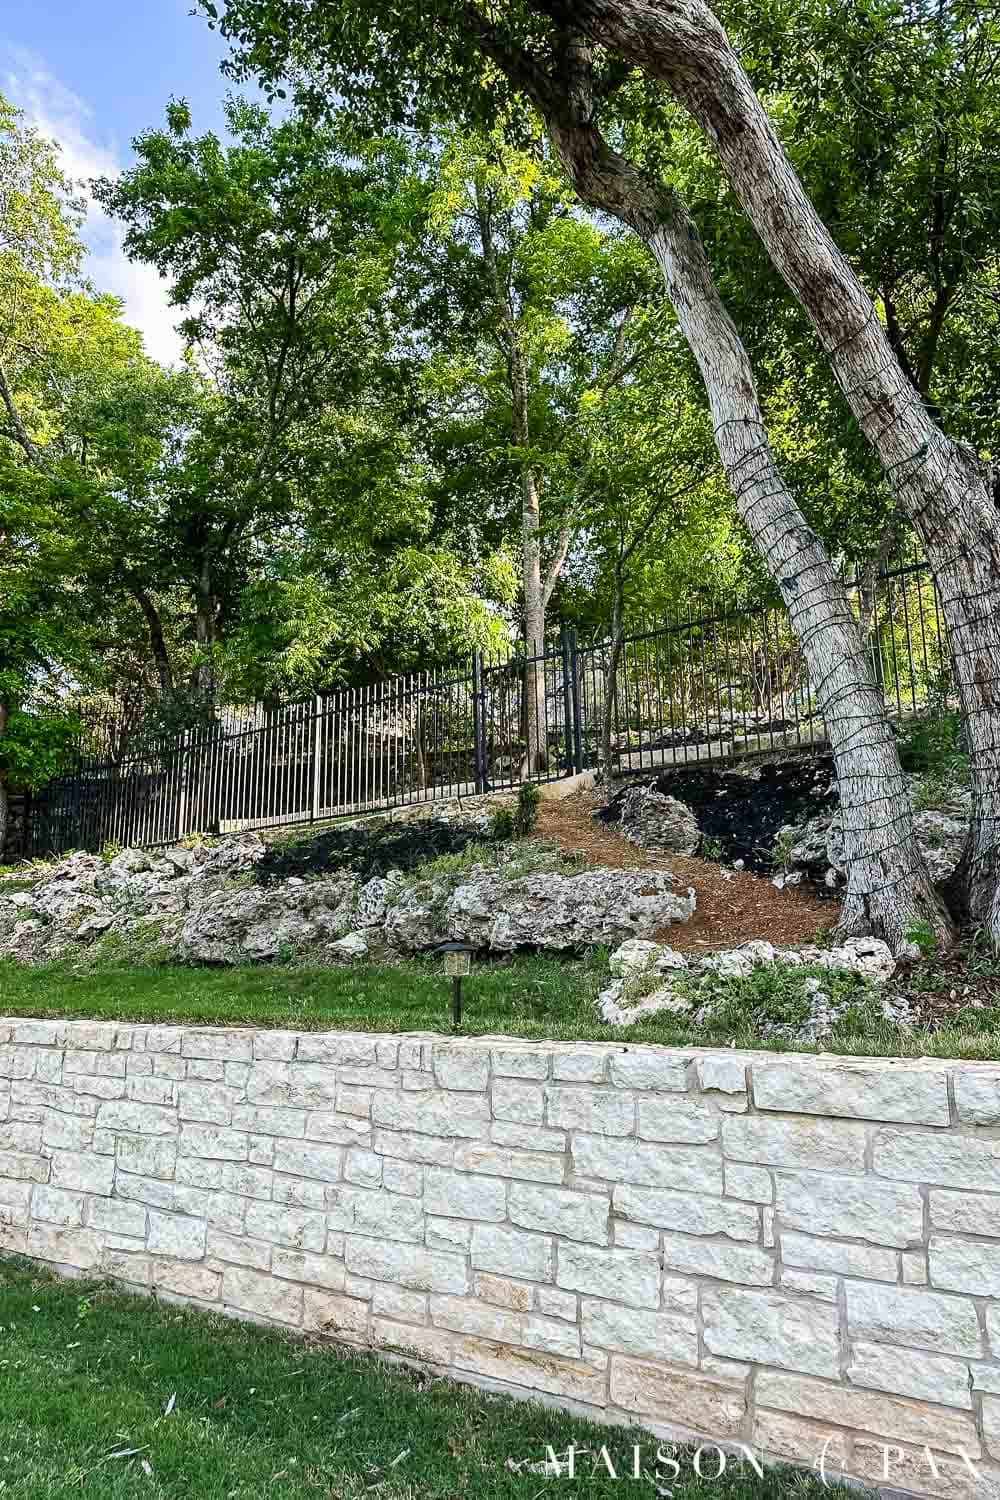
We used this black wood mulch (such a good deal!) for the more soil-like areas. I love the contrast it provides against the reddish brown granite paths. It’s simple to spread with a rake.
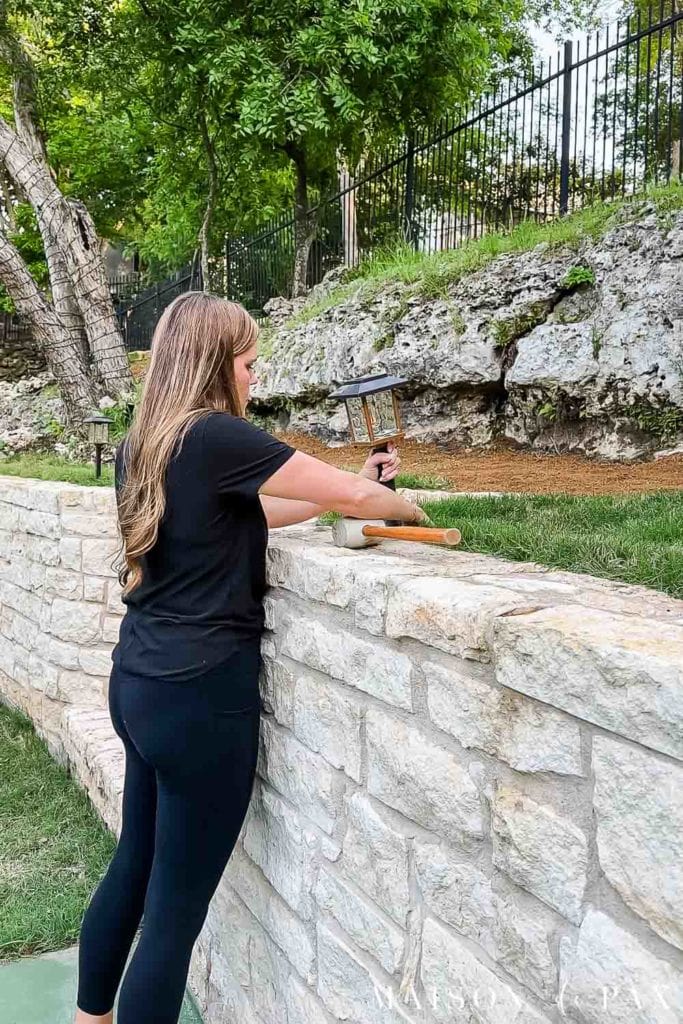
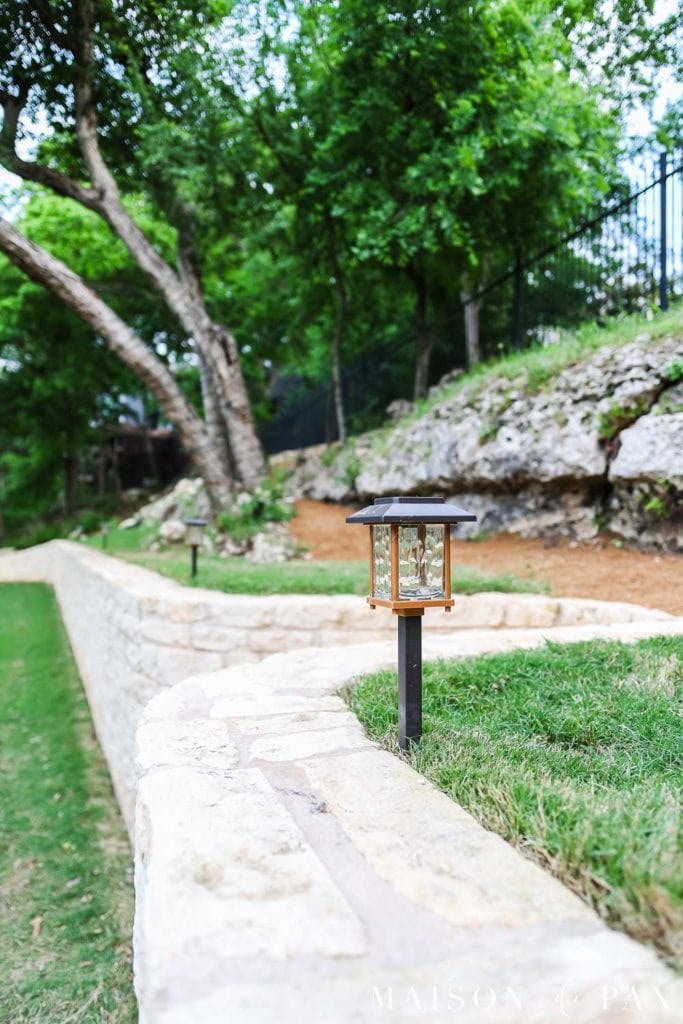
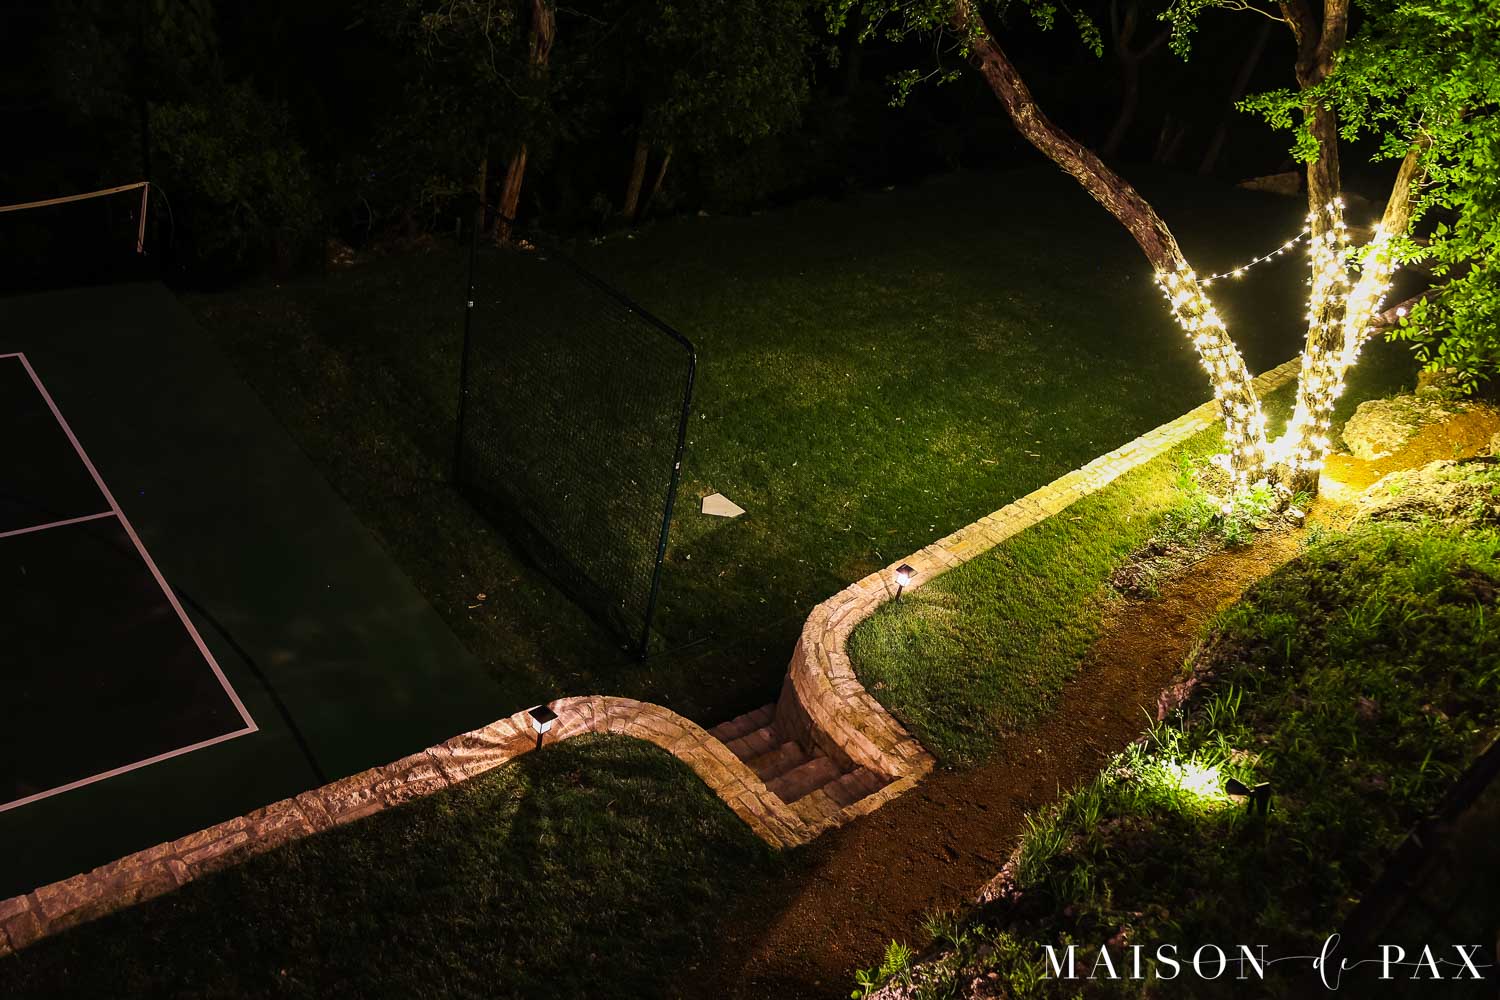
The final step for our new and improved paths was good lighting. We hung some string lights for the holidays and never took them down. This time, we added simple solar path lights…
And a new LED stadium light for our sport court. I was so excited to find this multi position ladder on sale. With our crazy backyard and super tall ceilings, it’s so helpful!
Now our space can officially be used any time of day or night!
I especially love the magic at night.
It just makes me happy!

SHOP OUR TOOLS AND LIGHTING:
Now I feel like we are ready to enjoy the backyard all summer long. Check out more outdoor projects here and tell me, what’s on your to do list for your outdoor space?

